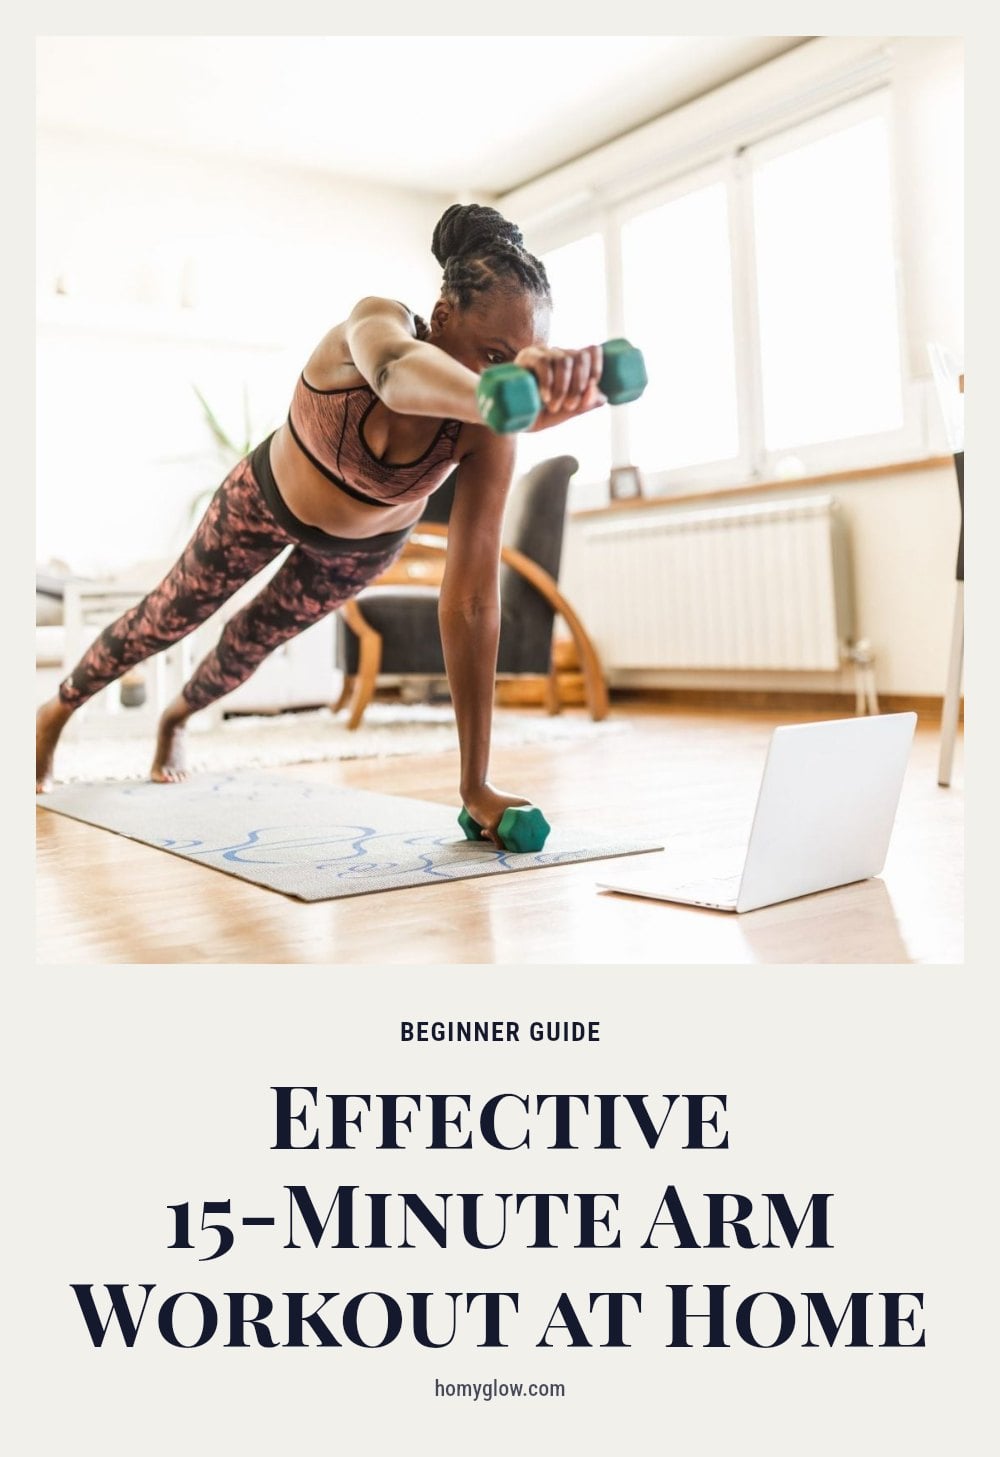
If you’re ready to start building arm strength but don’t have a gym or any fancy equipment, you’re in the right place. This 15-minute arm workout is designed for beginners and uses only your bodyweight or common household items like water bottles and canned goods. I’ll walk you through each move, focusing on proper form to help you get the most out of every rep.
Key Takeaways
- Target biceps, triceps, and shoulders with bodyweight moves like push-ups and triceps dips.
- Perform 2-3 sets of 8-12 repetitions for each exercise, resting 30-60 seconds between sets.
- Always warm up for 5 minutes and cool down with stretches to reduce injury risk.
- Work your arms 2-3 times per week on non-consecutive days for best results.
- Prioritize controlled form over speed or weight to prevent injury and engage muscles properly.
1. Warm-Up: Arm Circles
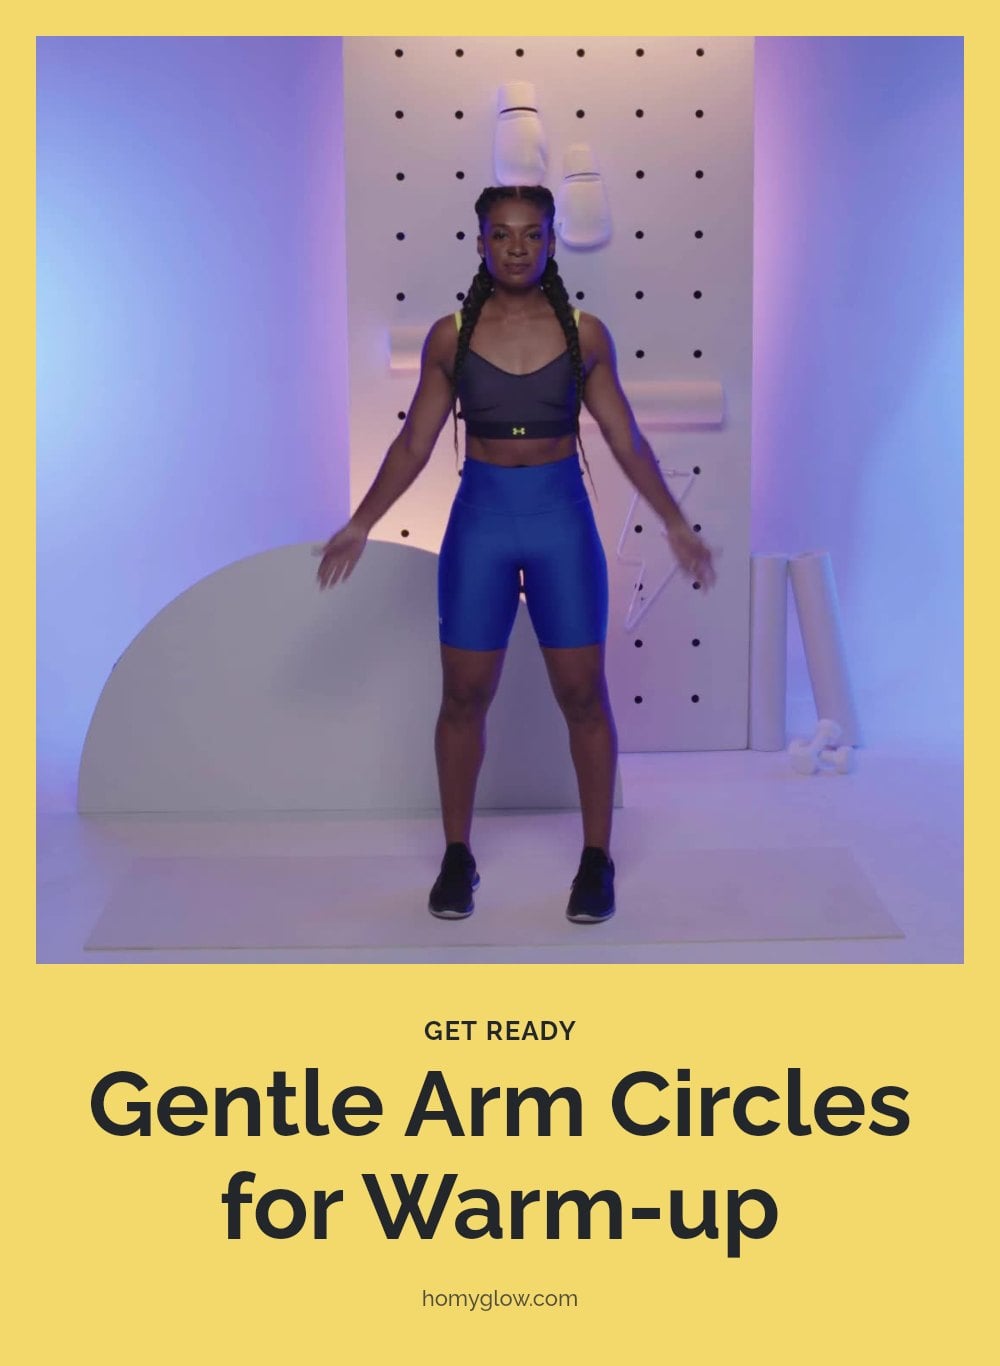
Stand with your feet shoulder-width apart and extend your arms straight out to the sides at shoulder height. Make small, controlled circles forward for 30 seconds, then switch to backward circles for another 30 seconds. Focus on smooth movement and gradually increase the circle size as your shoulders loosen up.
- Time: 30 seconds forward, 30 seconds backward.
- Form cue: Keep your shoulders relaxed and down, not hunched up toward your ears.
- Make it easier or harder: Smaller circles are easier; larger circles increase the range of motion.
2. Bicep Curls
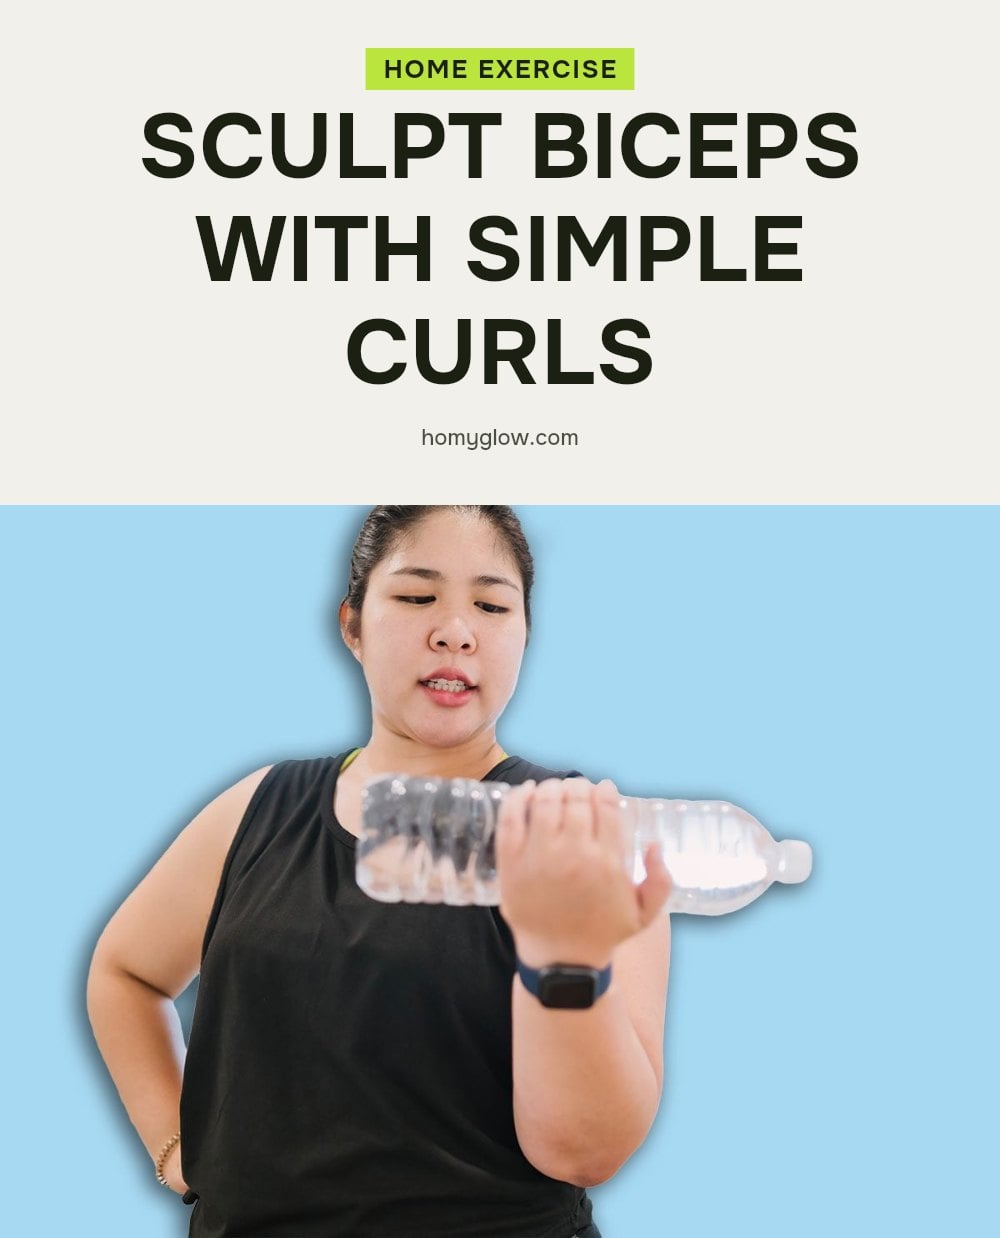
Hold a water bottle or canned good in each hand with your palms facing forward. Keeping your elbows tucked close to your sides, slowly curl the weights up toward your shoulders, squeezing your biceps at the top. Lower with control back to the starting position.
- Sets and reps: 2-3 sets of 8-12 repetitions.
- Form cue: Don’t let your elbows swing away from your body. My tip: Imagine your elbows are glued to your ribs.
- Make it easier or harder: Use lighter items like soup cans, or heavier ones like full water bottles.
3. Triceps Dips (Chair)
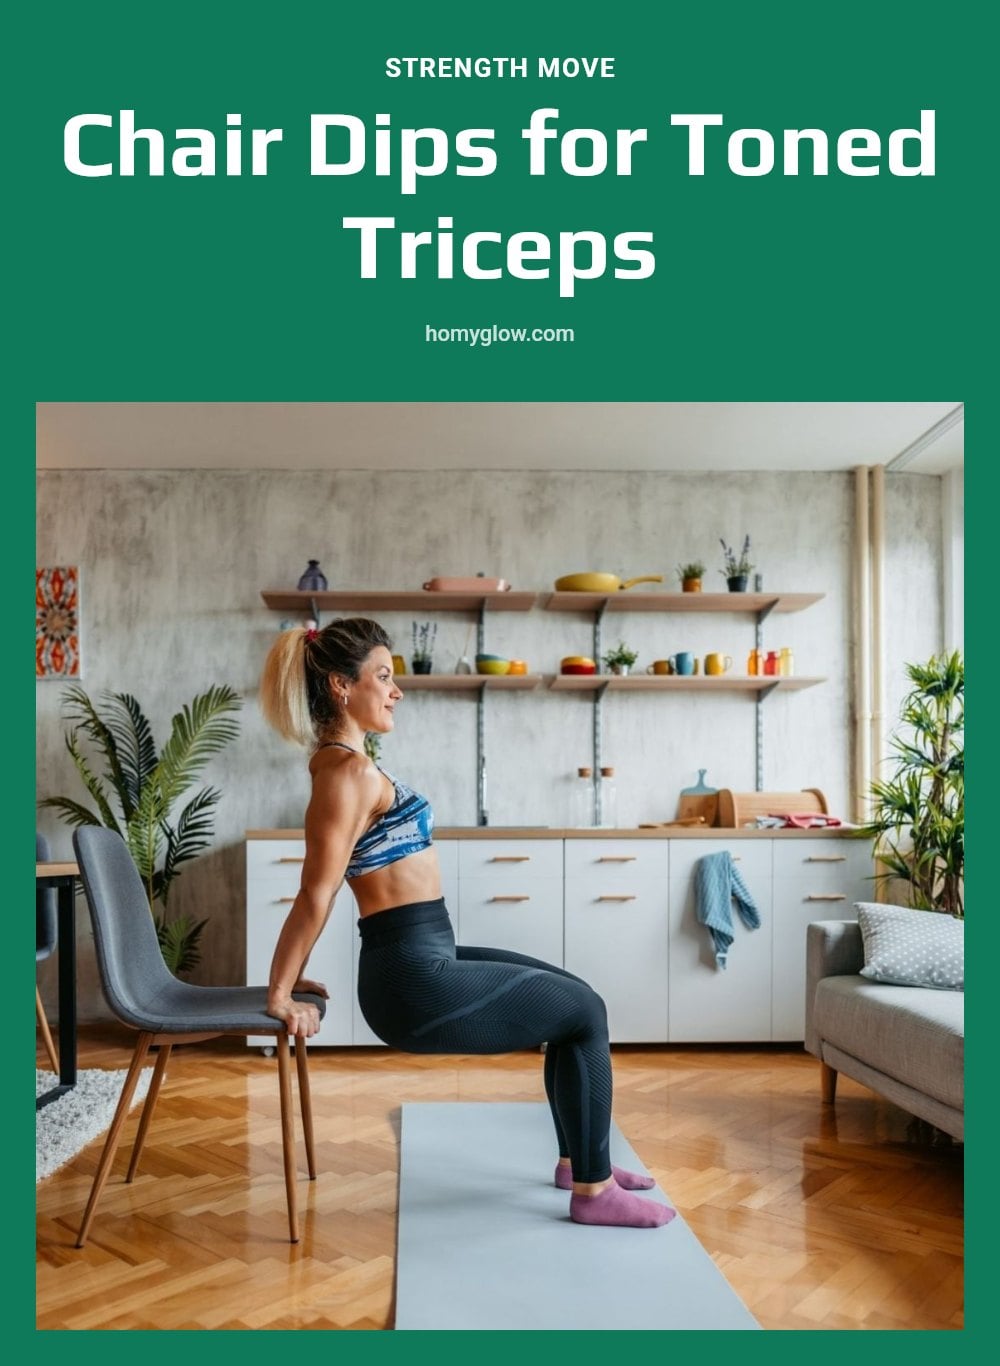
Sit on the edge of a sturdy chair with your hands gripping the edge next to your hips, fingers pointing forward. Slide your hips off the chair, supporting your weight with your arms. Bend your elbows to lower your body until they reach about a 90-degree angle, then push back up using your triceps.
- Sets and reps: 2-3 sets of 8-12 repetitions.
- Form cue: Keep your back close to the chair and your elbows pointing straight back.
- Make it easier or harder: Bend your knees more for an easier version, or straighten your legs for a harder one. Caution: Ensure your chair is stable and won’t slip.
4. Push-Ups (Knees or Toes)
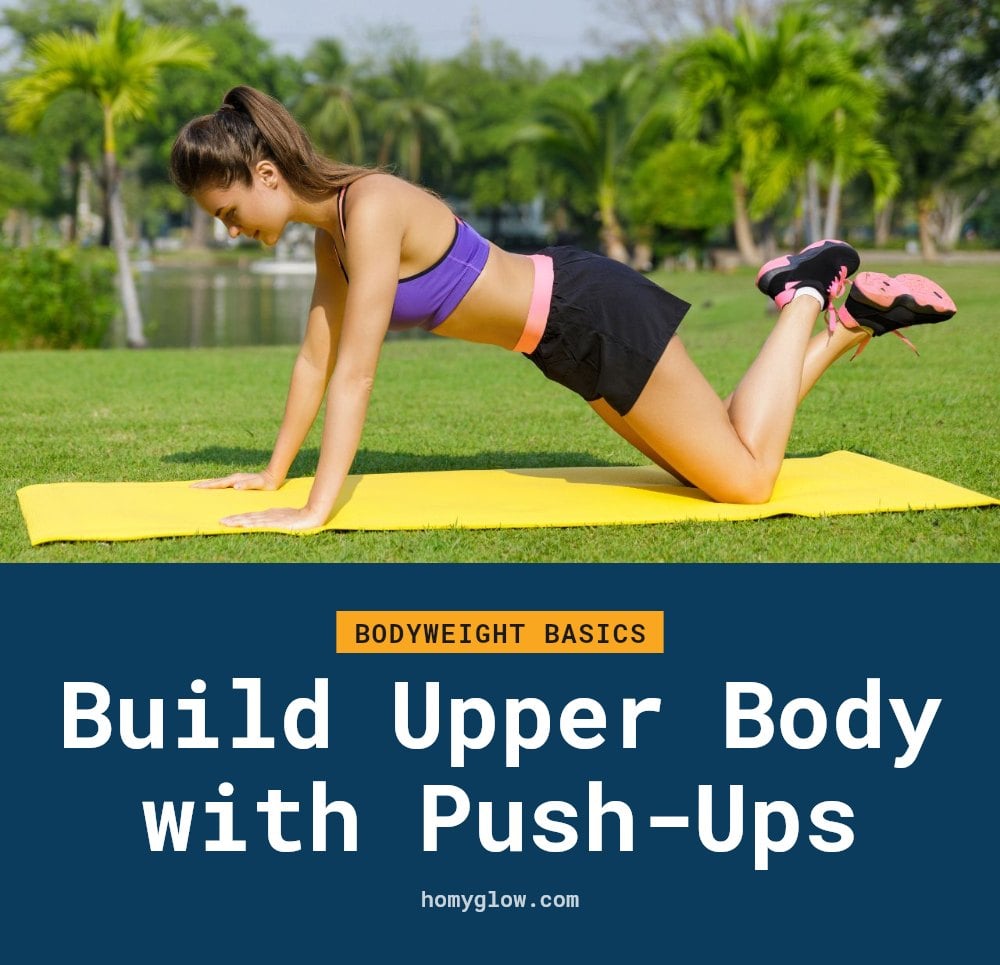
Start in a plank position with your hands slightly wider than shoulder-width apart and fingers pointing forward. You can perform this on your knees or toes. Lower your chest toward the floor, keeping your body in a straight line from head to heels (or knees), then push back up to the starting position.
- Sets and reps: 2-3 sets of as many as you can with good form, aiming for 8-12.
- Form cue: Keep your core engaged and your hips from sagging or piking up.
- Make it easier or harder: Drop to your knees for an easier version, or elevate your feet on a step for a harder one.
5. Overhead Press (with Resistance Band or Items)
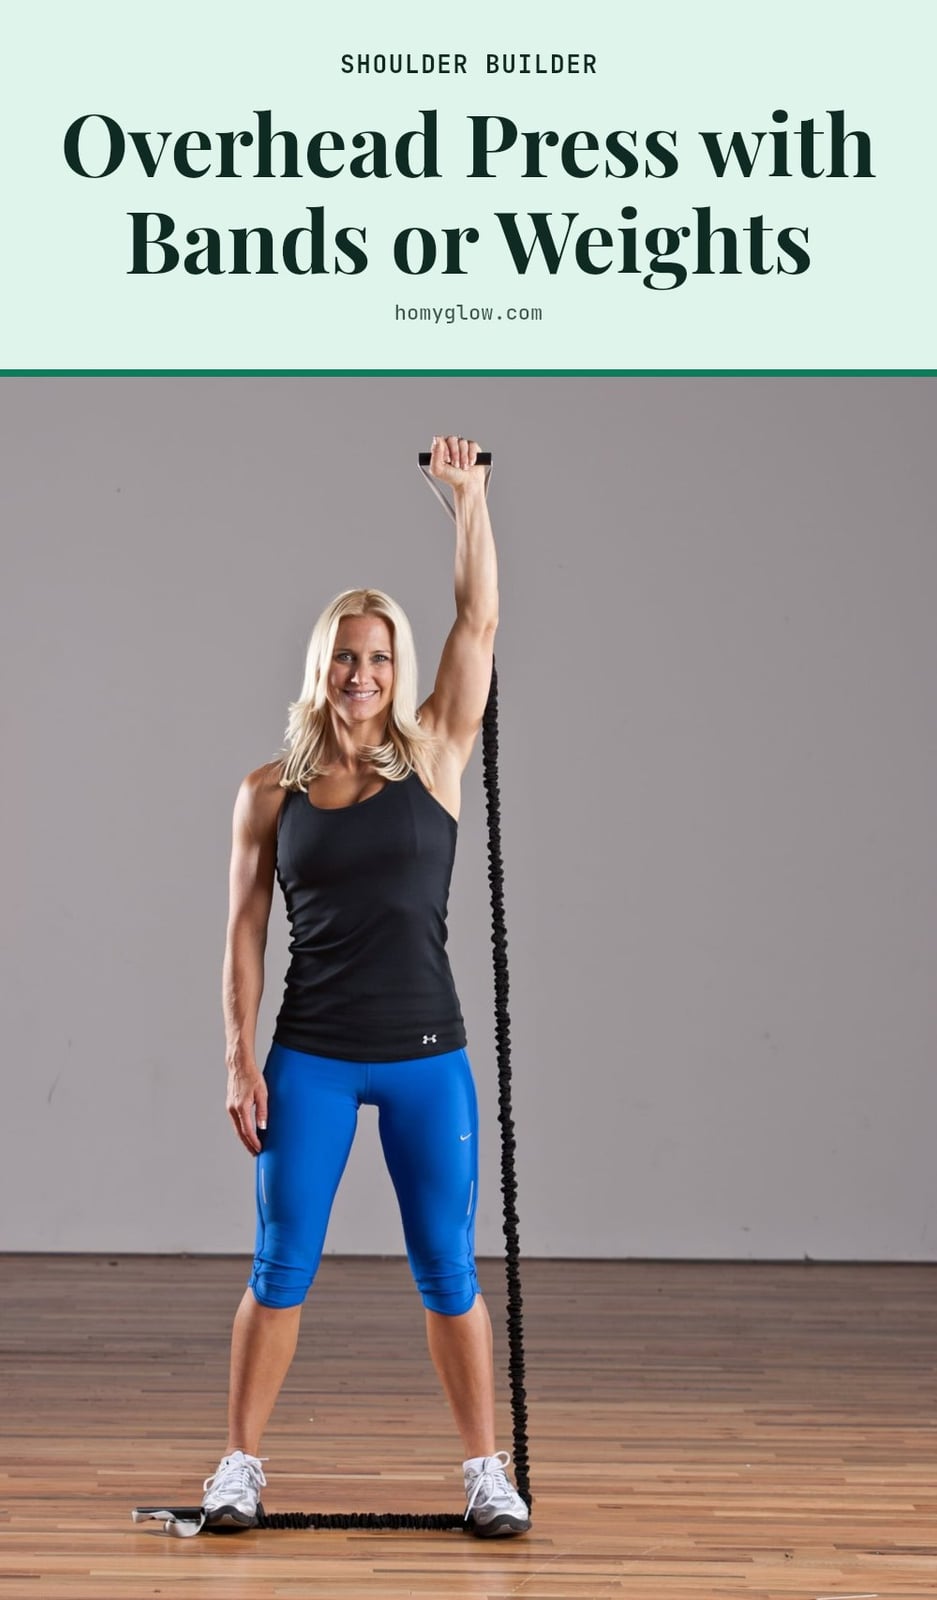
Stand with feet shoulder-width apart. If you have a resistance band, step on the center with one or both feet and hold the ends in each hand at shoulder height, palms forward. If you’re using household items like water bottles or canned goods, hold one in each hand at shoulder height with palms facing forward. Press the weights or band straight overhead until your arms are fully extended, then slowly lower back to shoulder height.
- Sets and reps: 2-3 sets of 8-12 repetitions.
- Form cue: Keep your core tight and avoid arching your lower back.
- My tip: Engage your core throughout to protect your lower back.
6. Plank Shoulder Taps

Start in a high plank position with your hands directly under your shoulders and your body in a straight line from head to heels. Keeping your hips as still as possible, lift your right hand to tap your left shoulder, then return it to the floor. Repeat on the other side, tapping your left hand to your right shoulder. Alternate for the full set.
- Time: 2-3 sets of 30-60 seconds.
- Form cue: The slower and more controlled the movement, the better for stability.
- My tip: Brace your core and squeeze your glutes to minimize hip sway.
7. Cool-Down: Triceps Stretch
Reach your right arm overhead, bend your elbow, and let your right hand fall behind your head toward your upper back. Use your left hand to gently press down on your right elbow, deepening the stretch. You should feel it along the back of your upper arm. Hold for 20-30 seconds, then switch arms.
- Time: 20-30 seconds per side.
- Form cue: Keep your shoulders relaxed and your neck long.
- Make it easier: Use a towel to hold your bent arm if you can’t reach your back.
8. Cool-Down: Biceps Stretch
Stand next to a wall or doorframe. Extend your right arm straight out to the side, palm flat against the surface. Slowly turn your body away from your outstretched arm until you feel a stretch in your bicep and the front of your chest. Hold for 20-30 seconds, then switch arms. This improves flexibility and aids recovery.
- Time: 20-30 seconds per side.
- Form cue: Keep your arm at shoulder height and don’t rotate your torso too far.
- Make it harder: Turn your body a little more for a deeper stretch.
Your Weekly Arm Workout Schedule
Consistency is key for seeing results. Aim to perform your arm workout 2-3 times per week, making sure to spread out your workout days to allow for muscle recovery. This sample schedule gives your muscles adequate rest between sessions, which is crucial for growth and preventing overtraining.
| Day | Workout | Notes |
|---|---|---|
| Monday | Arm workout | Focus on form |
| Tuesday | Rest or light cardio | Active recovery |
| Wednesday | Arm workout | Add light resistance |
| Thursday | Rest or full-body stretch | Flexibility focus |
| Friday | Arm workout | Increase reps slightly |
| Weekend | Rest | Let muscles rebuild |
Common Mistakes to Avoid for Better Results
Rushing Through Reps: Don’t use momentum to swing weights or complete exercises. Focus on slow, controlled movements to truly engage your muscles.
Ignoring Proper Form: Prioritize form over the number of reps or amount of weight. Bad form can lead to injury and ineffective workouts. If you’re unsure, watch a video or use a mirror.
Holding Your Breath: Remember to breathe. Exhale on exertion (the hardest part of the movement) and inhale as you return to the starting position. Holding your breath can increase blood pressure.
Skipping Warm-Up or Cool-Down: These aren’t optional. A warm-up prepares your muscles and reduces injury risk, while a cool-down aids flexibility and recovery.
Overtraining: More isn’t always better, especially as a beginner. Give your muscles time to recover and rebuild. Aim for 2-3 arm workouts per week, not daily.
Neglecting Triceps: Many focus only on biceps for ‘bigger arms.’ The triceps actually make up a larger portion of your upper arm, so don’t skip them.
Frequently Asked Questions
How often should beginners do arm workouts?
As a beginner, aim for 2-3 arm workouts per week on non-consecutive days. This gives your muscles time to recover and grow between sessions. Rest days are just as important as workout days for building strength.
Can I build muscle with just bodyweight exercises?
Yes, bodyweight exercises like push-ups, triceps dips, and plank variations can effectively build arm strength, especially for beginners. As you get stronger, you can add light resistance from household items or resistance bands to continue challenging your muscles.
What if I don’t have water bottles or resistance bands?
You can still complete the entire workout using only your bodyweight. Exercises like push-ups, triceps dips, and plank shoulder taps require no equipment. If you want extra resistance later, try using canned goods or a filled water bottle.
How long until I see results from arm workouts?
With consistent effort 2-3 times per week, you may notice initial strength improvements within a few weeks. Visible muscle definition usually takes several months. Results vary based on factors like diet, sleep, and overall activity level.
Is it okay to feel sore after an arm workout?
Some muscle soreness is normal, especially when starting a new routine. However, sharp or unusual pain is not normal and means you should stop. If soreness persists or is severe, consider taking an extra rest day and consult a doctor if needed.
Final Thoughts
Stick with this routine 2-3 times a week, and you can expect to notice initial strength improvements within a few weeks. Visible muscle definition typically takes several months of consistent effort. My tip: choose a schedule that fits your week and keep a water bottle nearby. Stay consistent, listen to your body, and you’ll build stronger arms right at home.
This article is for general informational purposes only and does not constitute medical or professional advice. Before starting any new exercise program, consult with a doctor or qualified fitness professional, especially if you have pre-existing health conditions or injuries. Stop immediately if you experience sharp pain, dizziness, or nausea.