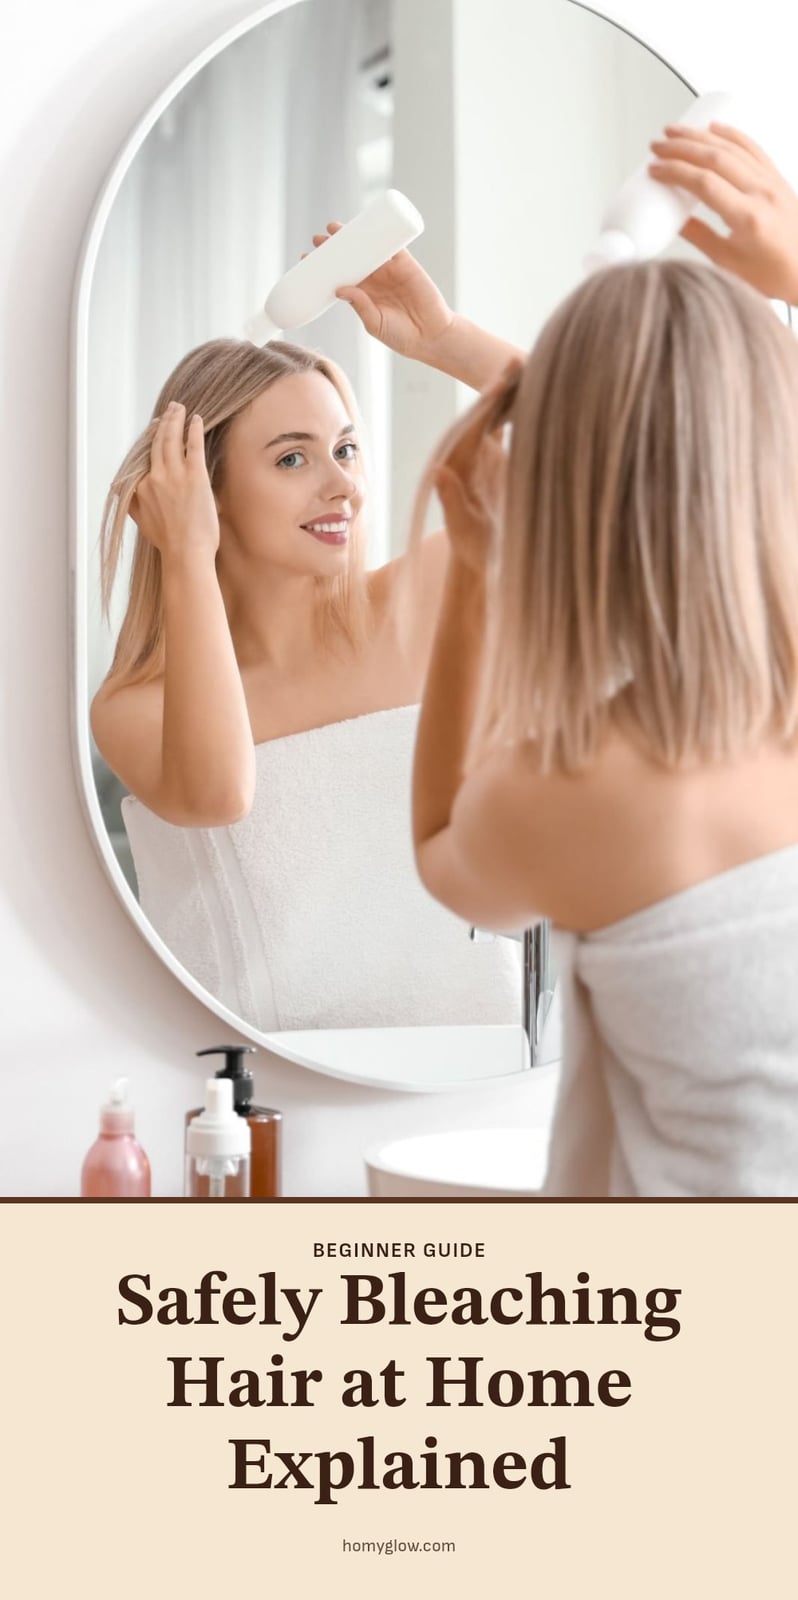
Thinking about lightening your hair at home? It’s a big step, and getting it right takes more than just mixing powder and developer. This article walks you through the safe way to bleach your own hair, from gathering the right tools to knowing when it’s better to leave it to a pro.
Key Takeaways
- Always do a patch test and a strand test before full application.
- Use Volume 20 developer for at-home bleaching to balance lift and control.
- Apply bleach to dry, unwashed hair (1-2 days dirty) for a protective barrier.
- Start application on mid-shaft and ends, then roots last.
- Deep condition immediately after rinsing and use a toner to neutralize unwanted tones.
What Bleaching Hair At Home Involves
Bleaching hair at home means applying a chemical mixture, bleach powder and developer, that strips natural pigment from the hair shaft to lighten it. This is a multi‑step process: you prepare the hair, mix and apply the bleach, monitor processing, rinse, and often tone to get the shade you want. Prioritizing hair health and following safety guidelines are crucial to minimize damage and achieve good results.
Your At-Home Bleaching Essentials
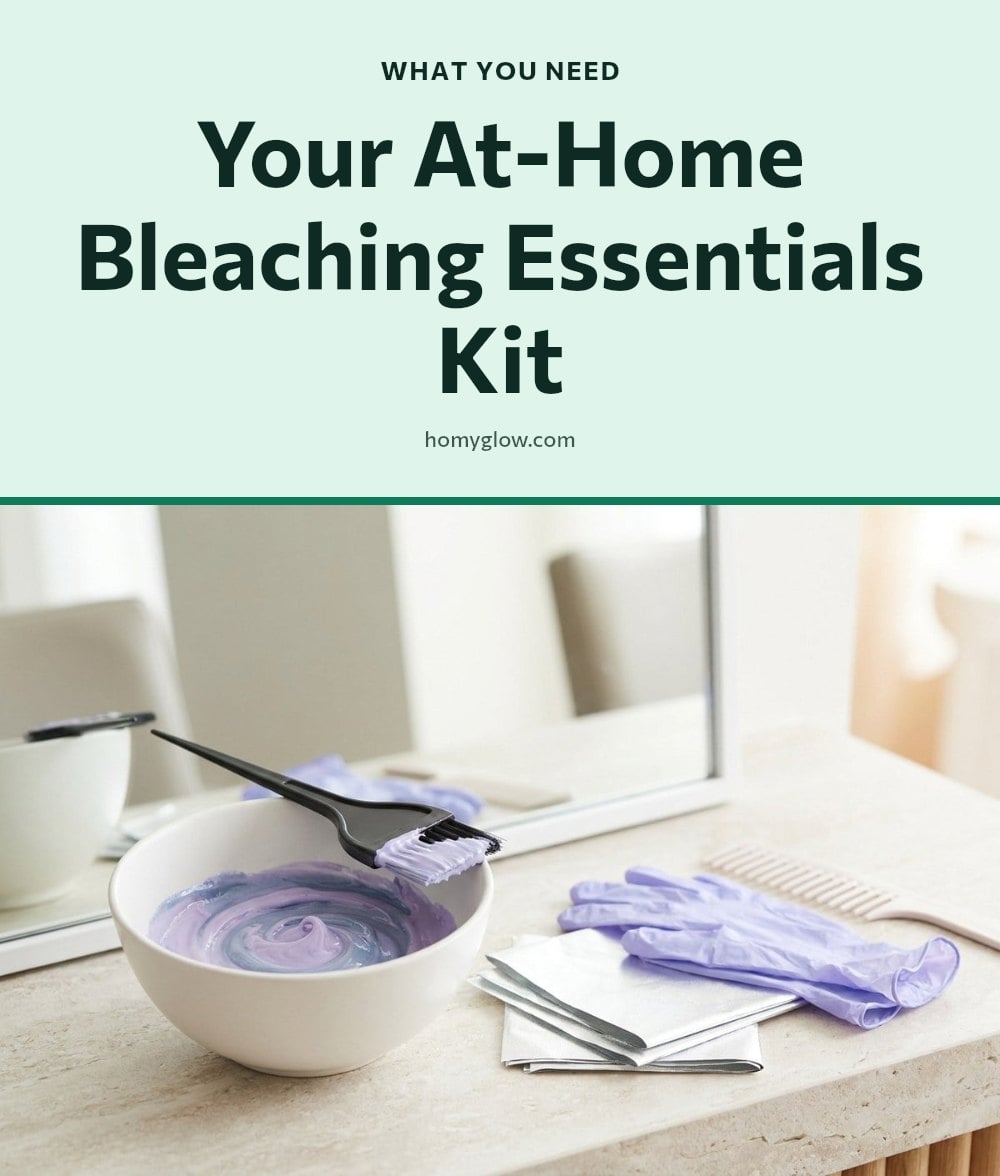
Before you start, gather everything you need. Here is the list of essentials:
- Bleach powder and developer: The core chemicals that lighten hair. Choose a volume 20 developer for home use. It offers a good balance of lift and control.
- Non‑metallic mixing bowl and applicator brush: Metal can react with bleach and ruin the mixture.
- Protective gear: Gloves to shield your hands and an old towel to protect your clothes.
- Sectioning tools: Hair clips and a wide‑tooth comb help you apply bleach evenly.
- Aftercare products: A deep conditioner and a toner (to neutralize unwanted warm tones) are vital post‑bleach.
Your Step-by-Step Guide to Bleaching Hair
- Perform a patch test: Apply a small amount of mixed bleach behind your ear or on your inner arm 48 hours before bleaching. This checks for allergic reactions.
- Do a strand test: Bleach a small, hidden section of hair to see how light it gets and how long it takes. This prevents surprises on your whole head.
- Prepare your hair: Make sure your hair is dry and unwashed for 1-2 days. The natural oils provide a slight protective barrier.
- Mix the bleach: In a non‑metallic bowl, combine bleach powder and developer according to the package instructions. Stir until smooth.
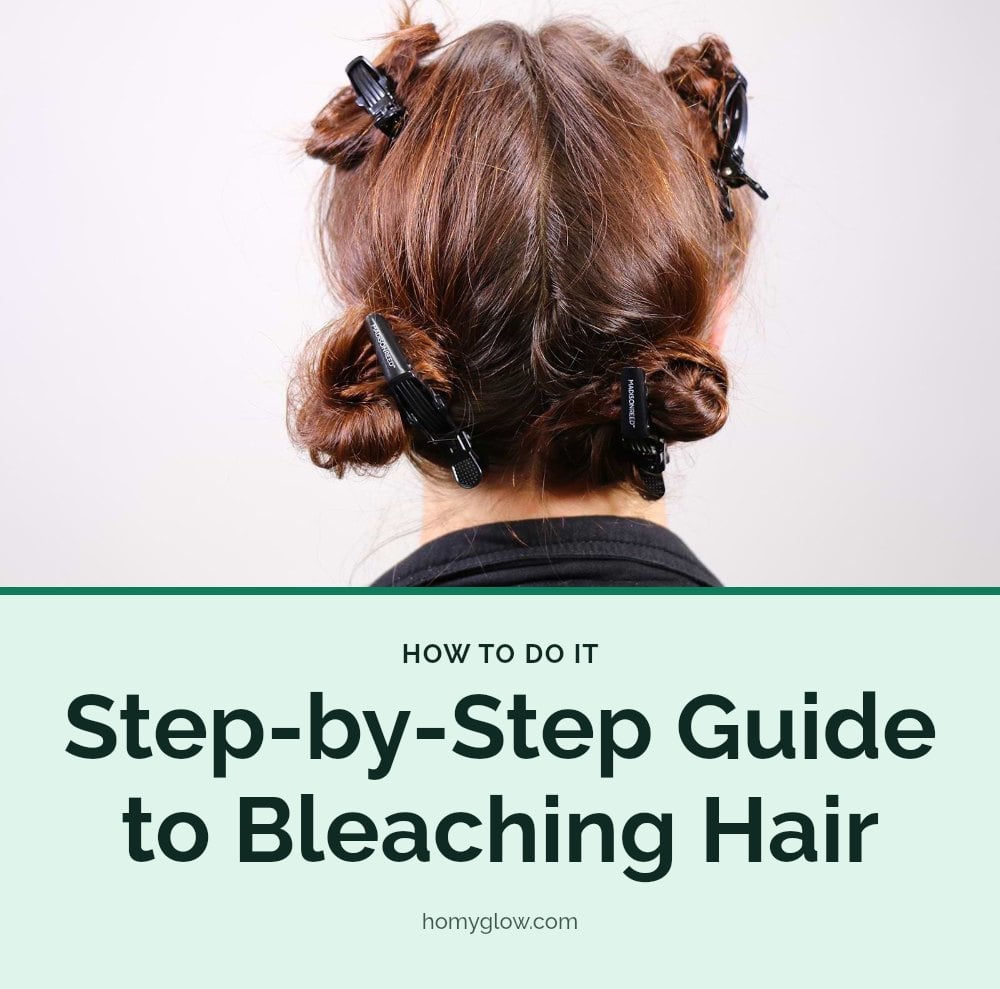
- Section your hair: Divide your hair into four to six sections using clips. This ensures every strand gets even coverage.
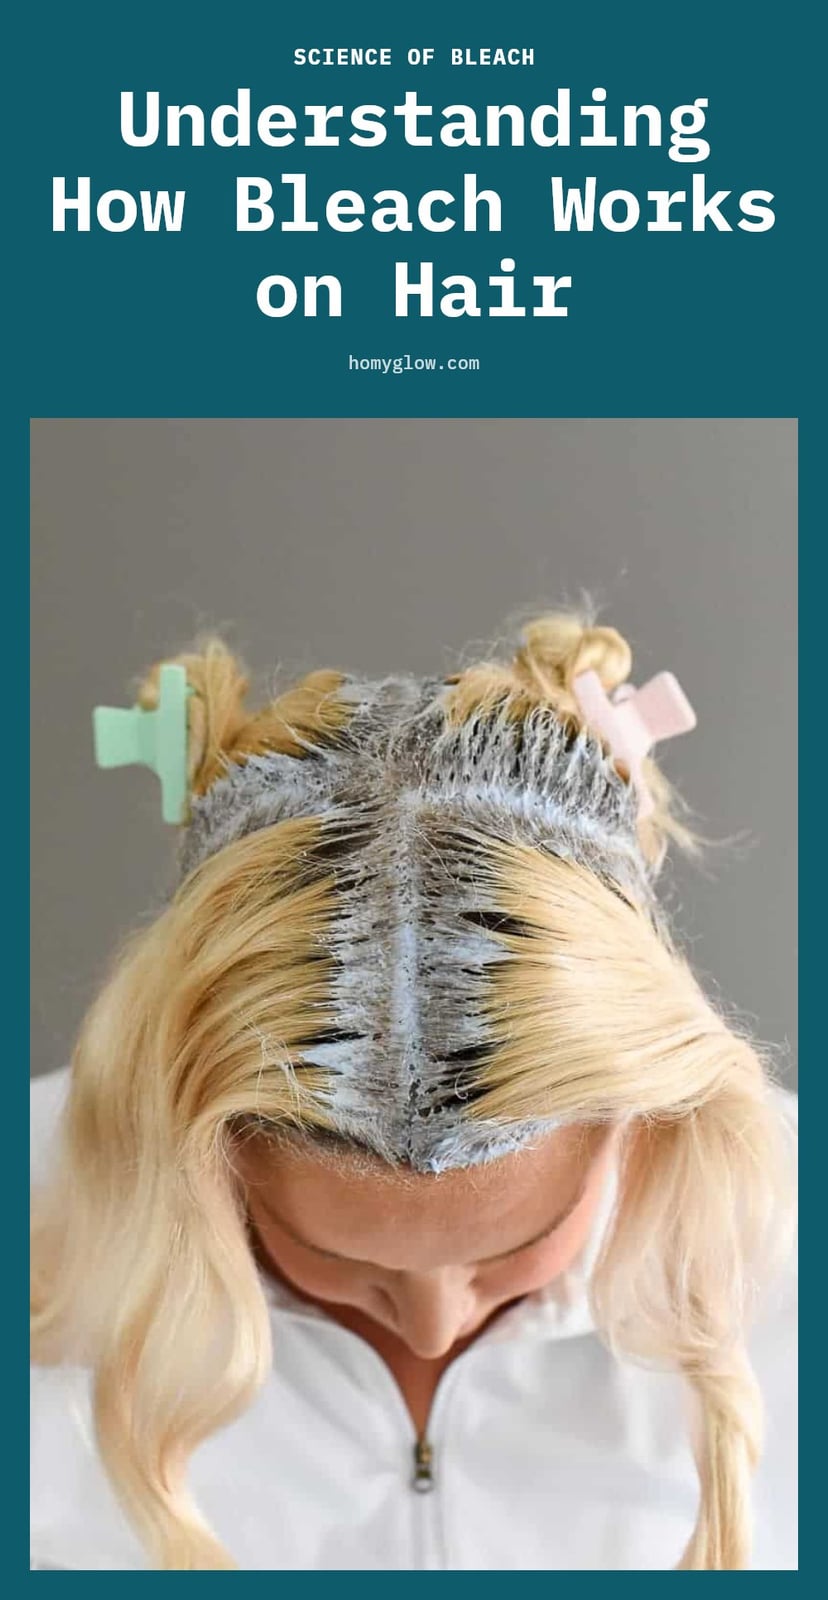
- Apply bleach to mid‑shaft and ends first: Start about half an inch from the scalp and work down to the tips. The roots process faster because of scalp heat, so they go on last.
- Apply bleach to the roots: Once the mid‑shaft and ends are covered, carefully apply bleach to the roots.
- Monitor your hair: Check the color every 5-10 minutes. Do not exceed the maximum processing time stated on the package (usually 45-60 minutes).
- Rinse thoroughly: Use cool water and rinse until all bleach is gone. Do not shampoo, just rinse.
- Apply a deep conditioning treatment: Immediately after rinsing, use a deep conditioner to restore moisture and strength. Leave it on as directed.
How Bleach Works on Your Hair
Bleach works through oxidation: the chemicals penetrate the hair shaft and break down melanin, the natural pigment, making it colorless. The developer (hydrogen peroxide) controls how fast and how far the lightening happens.
Developer Volume and What It Means
- Volume 10: Lifts 1-2 levels, best for slight lightening or toning.
- Volume 20: Lifts 2-3 levels, the standard for at‑home bleaching.
- Volume 30 and 40: Lift faster and more intensely, but they carry a high risk of damage and chemical burns. Not recommended for home use.
Virgin hair (never colored, never chemically treated) lifts more easily and evenly than previously colored hair. During the process, the hair often passes through underlying warm tones, red, orange, yellow, that may need toning to achieve a cool blonde. Bleaching also makes hair dry, brittle, and porous because it strips moisture and protein along with pigment.
Common Bleaching Mistakes to Avoid
Skipping the strand test: You won’t know the final color or how your hair will react until you test a small hidden section. This can lead to unexpected orange tones or over-processing.
Using too high a developer volume: Volume 30 or 40 can cause chemical burns and severe damage. Stick with volume 20 for home use.
Uneven application: Patchy color happens when you don’t section thoroughly or apply thickly enough in spots.
Leaving bleach on too long: Over-processing makes hair brittle and prone to breakage. Never exceed the maximum time on the package, usually 45-60 minutes.
Bleaching already damaged hair: If your hair is dry, brittle, or chemically treated, bleaching worsens its condition. Wait until it’s healthy.
Not toning: Bleach exposes warm yellow or orange tones. Toner neutralizes them for a natural blonde shade.
Overlapping on previously bleached hair: Applying new bleach over old bleached sections causes severe breakage. Keep new application on virgin growth only.
Pro Tips for a Successful At-Home Bleach
Wear gloves: Bleach can cause chemical burns on your hands. Keep them covered the whole time.
Work in a well-ventilated area: Open a window or turn on a fan to avoid inhaling fumes from the chemicals.
Apply bleach to 1-2 day dirty hair: Natural oils provide a slight protective barrier against irritation. Don’t wash right before.
Avoid heat during processing: Heat accelerates the chemical reaction and increases damage. No hair dryer, no warm room.
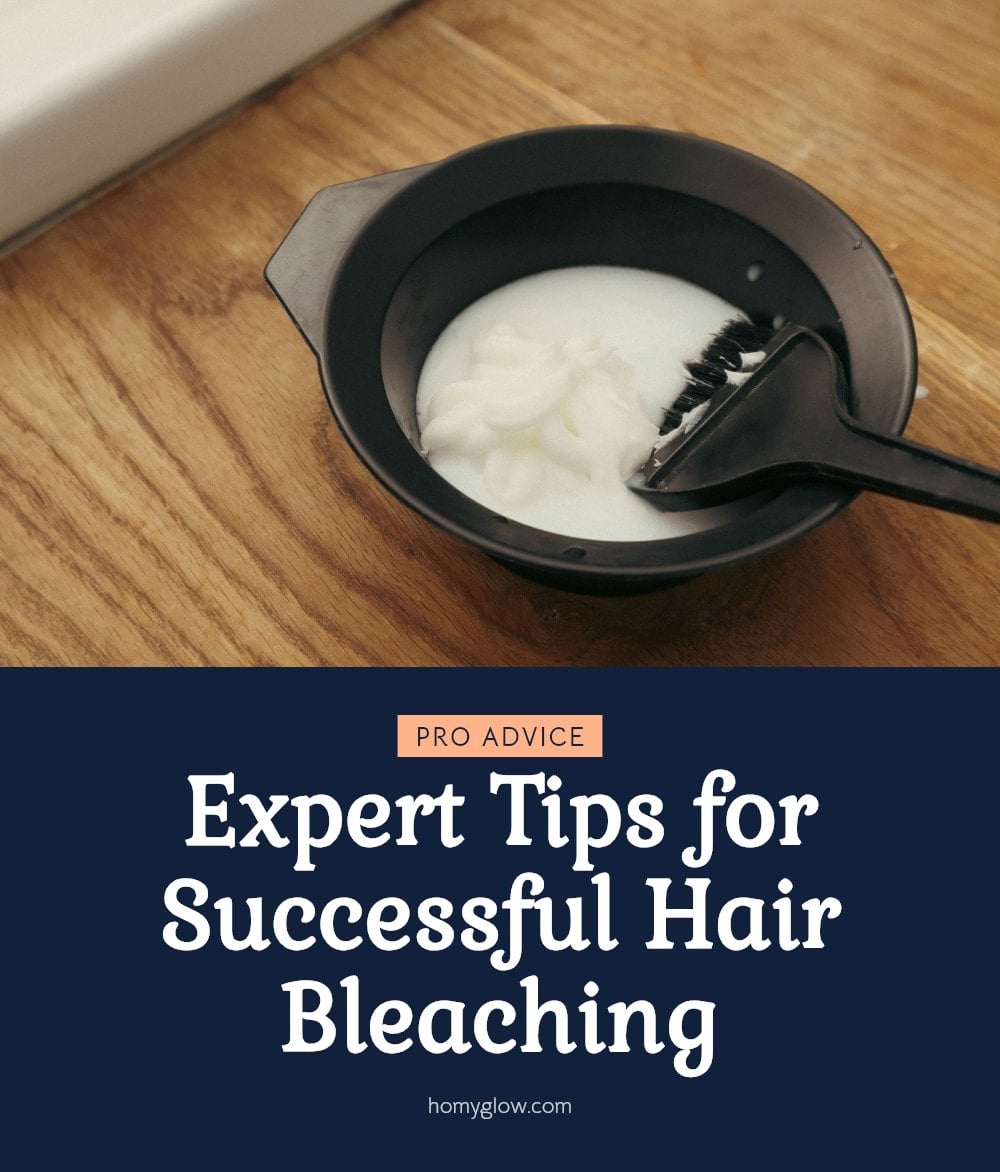
Use non-metallic tools: Metal bowls or clips can react with bleach and cause discoloration or chemical issues. Stick to plastic or ceramic.
Rinse immediately if you feel burning: Severe irritation or burning means the bleach is damaging your scalp. Rinse with cool water right away.
Post-Bleach Hair Care: Keeping Your Hair Healthy
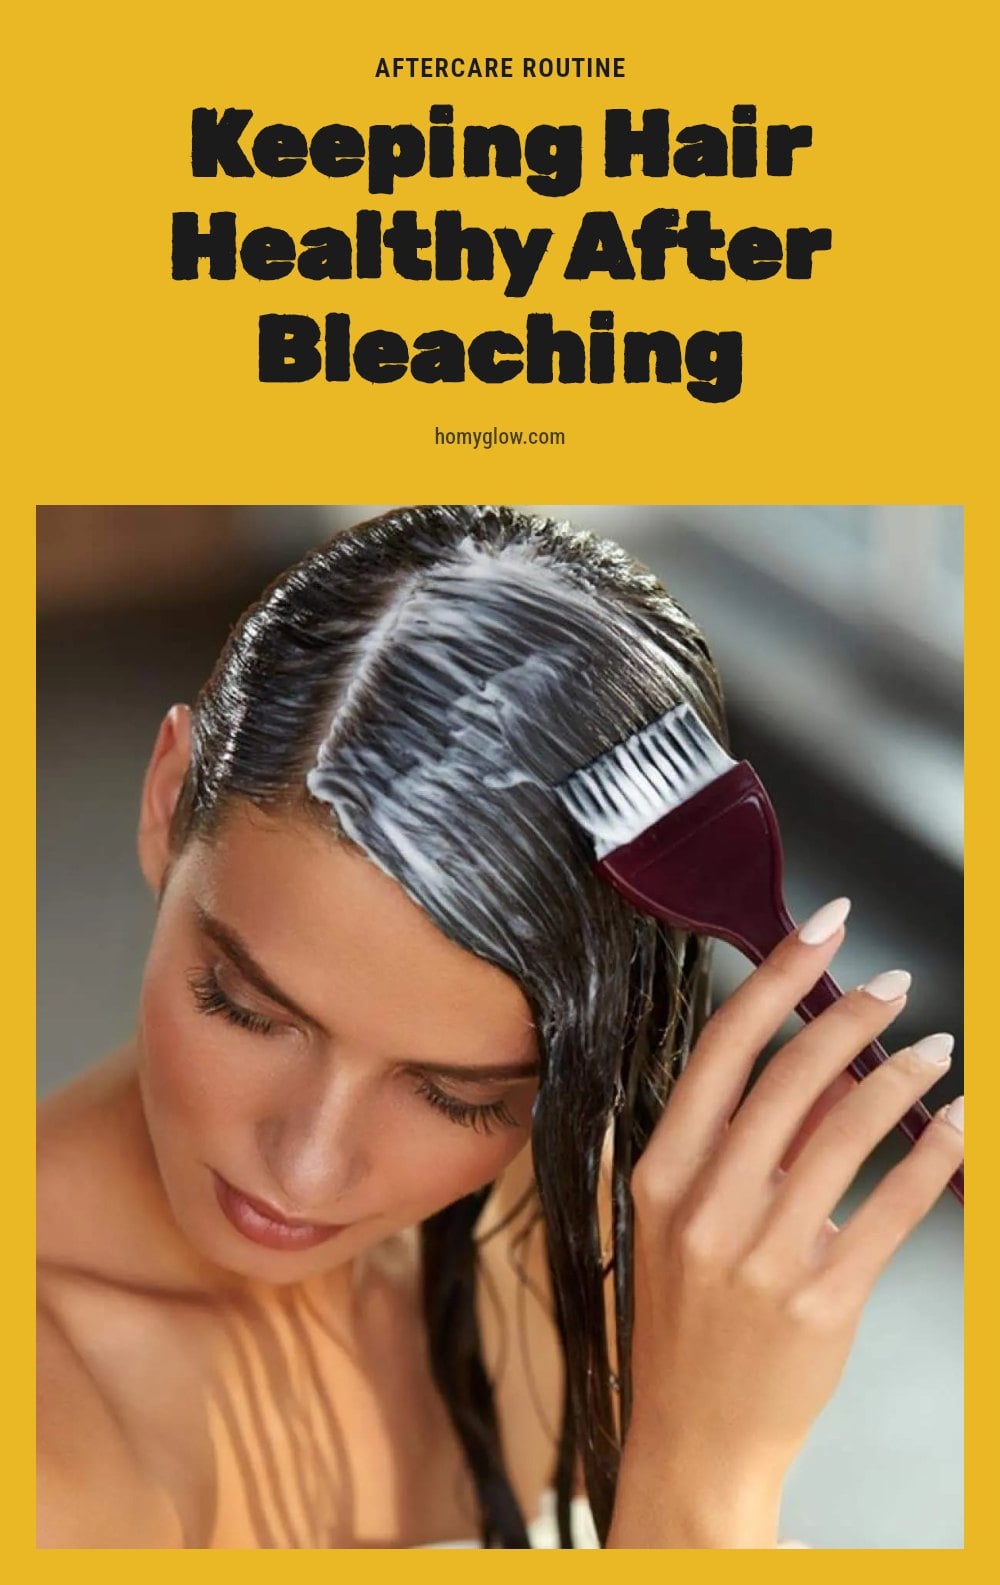
Deep condition right after rinsing: Bleaching strips moisture, so a deep conditioning treatment restores softness and strength. Leave it on for the full recommended time.
Apply toner to neutralize tones: Use a toner after bleaching to cancel unwanted yellow or orange undertones. Follow the instructions carefully.
Use bond-repairing treatments: Products with bond-building ingredients help rebuild broken disulfide bonds in the hair shaft. Use them weekly.
Avoid heat styling: Heat adds stress to already fragile hair. Let it air dry for at least a week.
Choose sulfate-free products: Sulfates strip color and moisture. Use shampoos and conditioners labeled for color-treated hair.
Bleaching Timeline and What to Expect
The bleaching process itself takes 20 to 60 minutes, depending on your starting color and desired lift. Add 15-30 minutes for preparation, rinsing, conditioning, and toning.
DIY bleaching costs significantly less than a salon service, but careful execution is required to avoid costly corrections. For dramatic lightening, you may need multiple sessions spaced several weeks apart to let your hair recover between applications.
When to Call a Professional Stylist
Call a stylist if your hair is very dark and you’re aiming for a dramatic light blonde. That shift takes multiple sessions and precise toning that most at-home kits can’t deliver safely. Skip the DIY route if your hair is already damaged, brittle, or chemically treated, since bleach will worsen those issues quickly.
If you’re unsure about any part of the process or you’re worried about damaging your hair, a professional consultation is worth it. During bleaching, if you feel severe burning, itching, or an allergic reaction, rinse immediately and seek medical help. Also head to a salon for complex color corrections or if your DIY attempt leaves you with patchy, over-processed, or unexpected results.
Frequently Asked Questions
Can I bleach my hair if it’s already colored?
Yes, but proceed with caution. Previously colored hair lifts less evenly and is more prone to damage. If the color is a permanent dye, you may need multiple sessions to reach your desired shade. Always do a strand test first to see how your hair reacts, and consider consulting a professional if the color is dark or uneven.
How long should I wait between bleaching sessions?
Wait at least two to four weeks between bleaching sessions to give your hair time to recover. Overlapping bleach on already lightened hair can cause severe breakage. During that time, focus on deep conditioning treatments and avoid heat styling to restore moisture and strength before your next application.
What should I do if my hair turns orange after bleaching?
Orange tones are a normal stage of the lightening process, especially on darker hair. Apply a toner formulated to neutralize orange (often a blue or purple toner) after rinsing out the bleach. Follow the toner’s instructions carefully, and if the orange is stubborn, you may need a second bleaching session on the mid-shaft and ends only.
Is it better to bleach clean or dirty hair?
It’s better to bleach dirty hair, meaning unwashed for one to two days. The natural oils on your scalp and hair provide a slight protective barrier against the chemicals. Avoid applying bleach to freshly washed, clean hair, as it can increase irritation and damage. Just make sure there’s no heavy product buildup like gel or hairspray.
Can I use regular household bleach on my hair?
No, never use household bleach, laundry bleach, or any product not specifically formulated for hair. Household bleach is much stronger and can cause severe chemical burns, hair breakage, and permanent scalp damage. Only use hair bleach powder and developer designed for cosmetic use, and always follow the manufacturer’s instructions.
Final Thoughts
Bleaching at home can save money, but it demands patience and precision. My tip: if you’re going from very dark hair to a light blonde, or if your hair is already damaged, skip the DIY and book a salon appointment. For everyone else, commit to the strand test and never exceed 45-60 minutes of processing time. With careful execution, you can achieve the lift you want while keeping your hair healthy enough for the next step.
This article provides general information about at-home hair bleaching and is not a substitute for professional advice. Hair bleaching involves strong chemicals that can cause irritation, allergic reactions, or damage if misused. For persistent scalp issues, severe damage, or if you are unsure about your hair’s condition, consult a licensed hairstylist or a dermatologist.