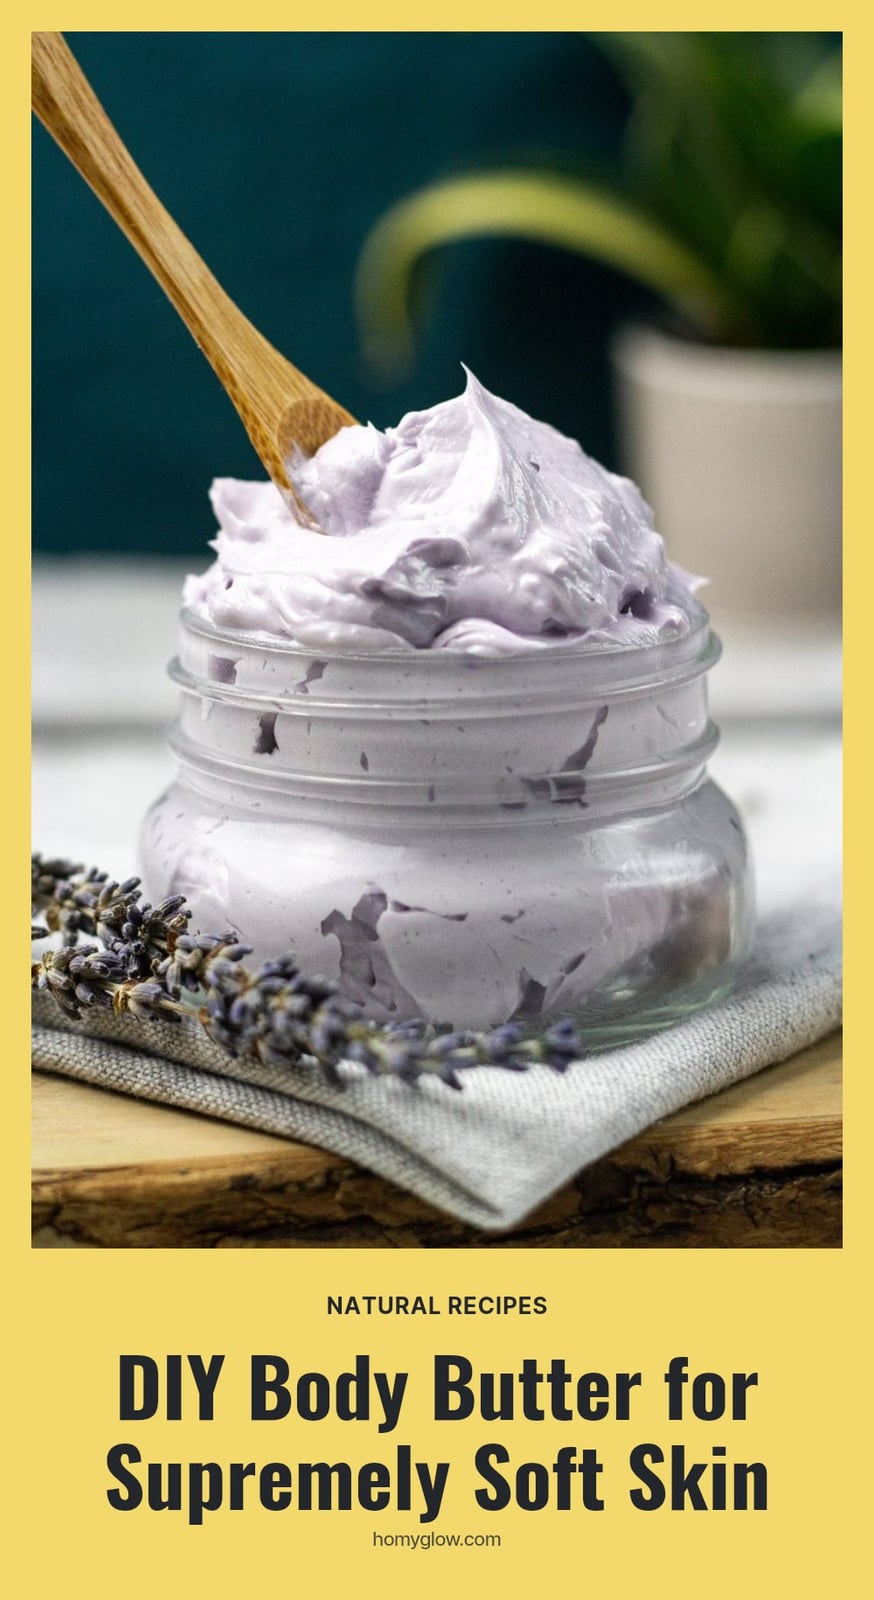
If your elbows, knees, or heels feel persistently dry even after lotion, body butter is the upgrade you need. It’s a thick, rich moisturizer made from natural butters and oils that melt right into your skin. This article walks you through five simple DIY recipes, tips for perfect texture every time, and how to store your creation so it lasts.
Key Takeaways
- Use clean, sterilized containers to prevent spoilage and extend shelf life up to 3-6 months.
- Whip ingredients thoroughly after cooling to achieve a light, fluffy texture that absorbs easily.
- Apply body butter to damp skin after showering to lock in moisture more effectively.
- Store your body butter in a cool, dark place away from direct sunlight and heat.
- Perform a patch test before using new ingredients, especially if you have nut allergies or sensitive skin.
Why Homemade Body Butter is Your Skin’s Best Friend
Homemade body butter is a thick, rich moisturizer that goes far beyond what any lotion can do. It relies on natural butters and oils to deliver deep hydration, making it perfect for stubborn dry spots like elbows, knees, and heels. Because you control every ingredient, you can skip synthetic additives and choose oils that actually benefit your skin.
Gather Your Ingredients and Tools
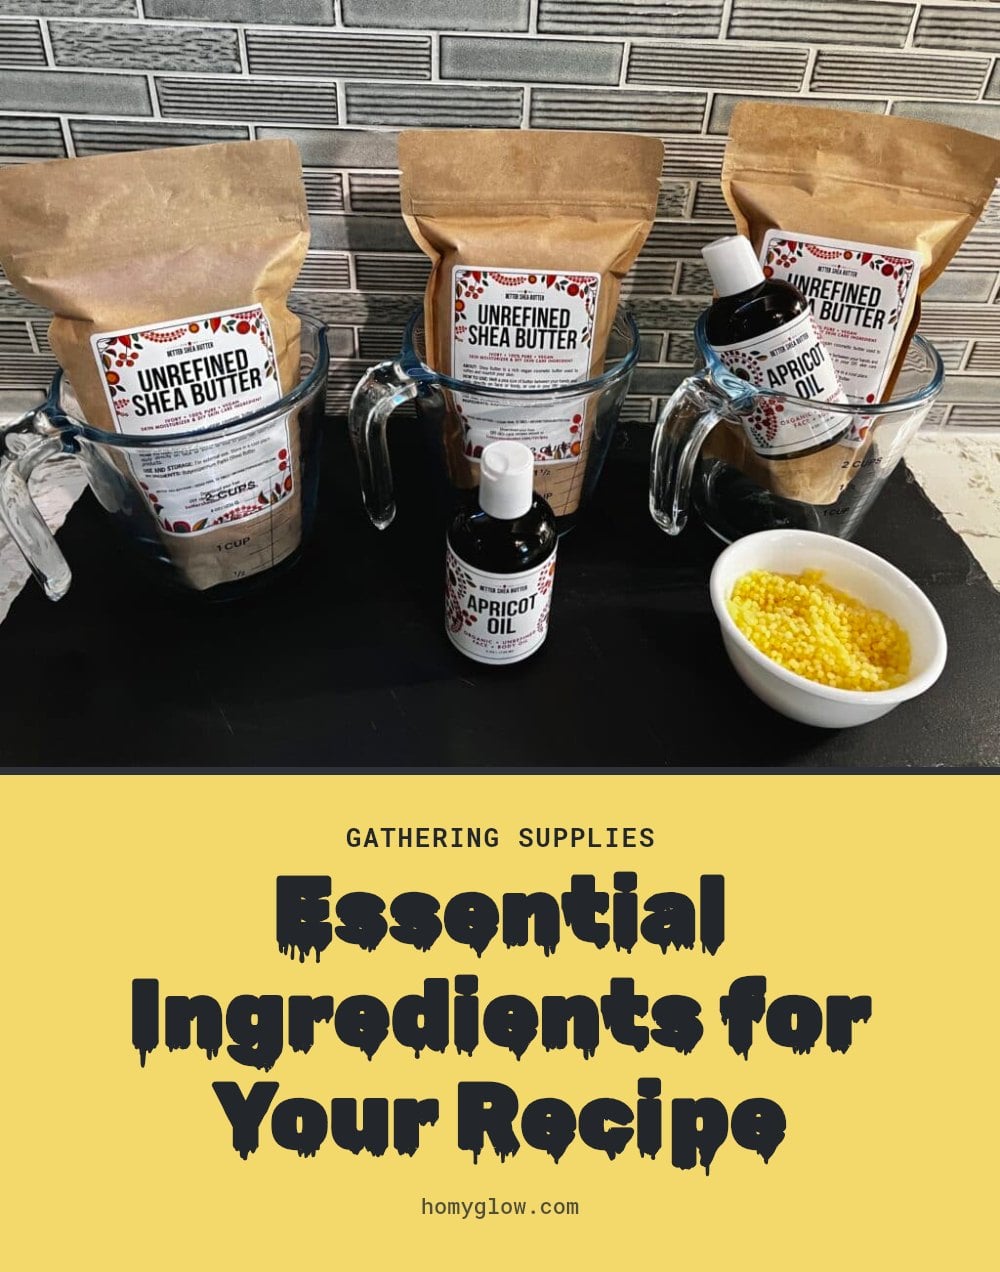
Start by gathering your base ingredients and tools. The main components are:
- Natural butters: Shea, cocoa, or mango butter form the thick, moisturizing foundation.
- Carrier oils: Coconut, almond, or jojoba oil add spreadability and extra skin benefits.
- Essential oils: Lavender, frankincense, or sweet orange provide natural fragrance and therapeutic properties.
- Electric mixer: A handheld or stand mixer is essential for creating that light, whipped texture.
You will also need a double boiler (or microwave-safe bowl), a spatula, and clean, sterilized airtight jars for storage.
Classic Whipped Shea Body Butter Recipe
This recipe yields about 8 ounces of whipped body butter. Prep time is 20 minutes, plus 1-2 hours cooling time.
- 1/2 cup shea butter: The moisturizing base with anti-inflammatory properties.
- 1/4 cup coconut oil: Adds emollience and a smooth texture.
- 1/4 cup almond oil: Lightweight carrier oil that enhances spreadability; you can swap in jojoba oil if preferred.
- 1 teaspoon vitamin E oil: Acts as an antioxidant to extend shelf life.
- 15-20 drops lavender essential oil: Provides a calming, soothing scent.
Melt the shea butter and coconut oil together, then stir in the almond oil and vitamin E oil. Cool, whip, and add the lavender oil during whipping.
Step-by-Step: Making Your Whipped Body Butter
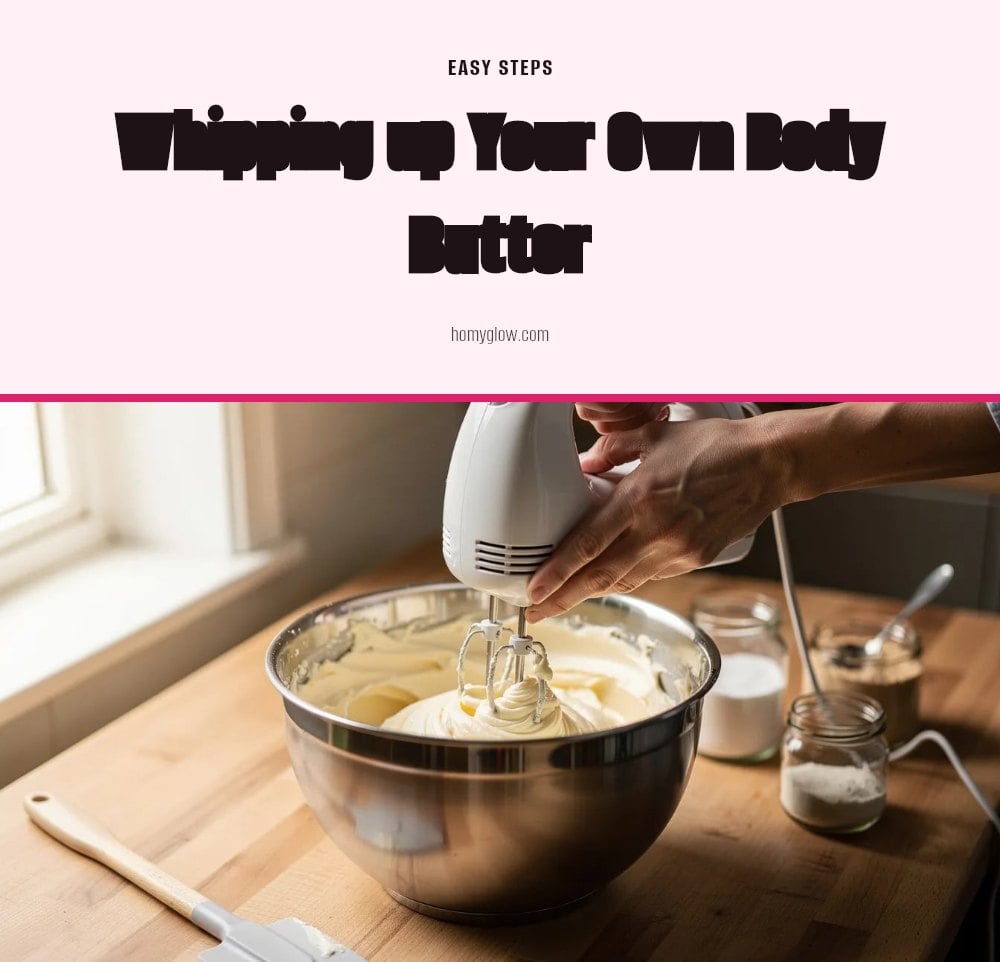
- Melt the butters and oils: Combine shea butter and coconut oil in a double boiler over low heat. Stir gently until fully melted. Do not overheat, as high temperatures can degrade beneficial properties.
- Cool the mixture: Remove from heat and stir in almond oil and vitamin E oil. Let the mixture cool at room temperature until it becomes opaque and starts to solidify but is still soft, about 1-2 hours.
- Whip until fluffy: Using an electric mixer, whip the cooled mixture on medium speed for 3-5 minutes. Scrape down the sides with a spatula as needed. The mixture will lighten in color and become airy.
- Add essential oils: While whipping, slowly add your chosen essential oils. Continue whipping for another 1-2 minutes until the texture is light and fluffy.
- Transfer to containers: Spoon the whipped body butter into clean, airtight jars. Smooth the top with a spatula. Apply to slightly damp skin after showering for optimal moisture absorption.
Prefer to watch? abetweene walks through the whole method in this 4-minute video.
Best Tips for Perfect Body Butter Every Time
Tip: Use only clean, sterilized containers for your body butter. Wash jars in hot soapy water or run them through the dishwasher, then dry completely. Any bacteria introduced at this stage will shorten the shelf life.
Store the finished body butter in a cool, dark cabinet away from heat and direct sunlight. Heat can melt the whipped texture, and light can degrade the oils over time.
Before using a new batch, do a patch test on a small area of skin, especially if you added essential oils. Apply a pea-sized amount to your inner arm and wait 24 hours to check for irritation.
Whip the mixture thoroughly until it is light and airy. A fluffy texture spreads more easily and absorbs faster than a dense paste.
My tip: Apply body butter to slightly damp skin right after a shower. The water helps lock in moisture, so you get more hydration from less product.
Explore These Body Butter Variations
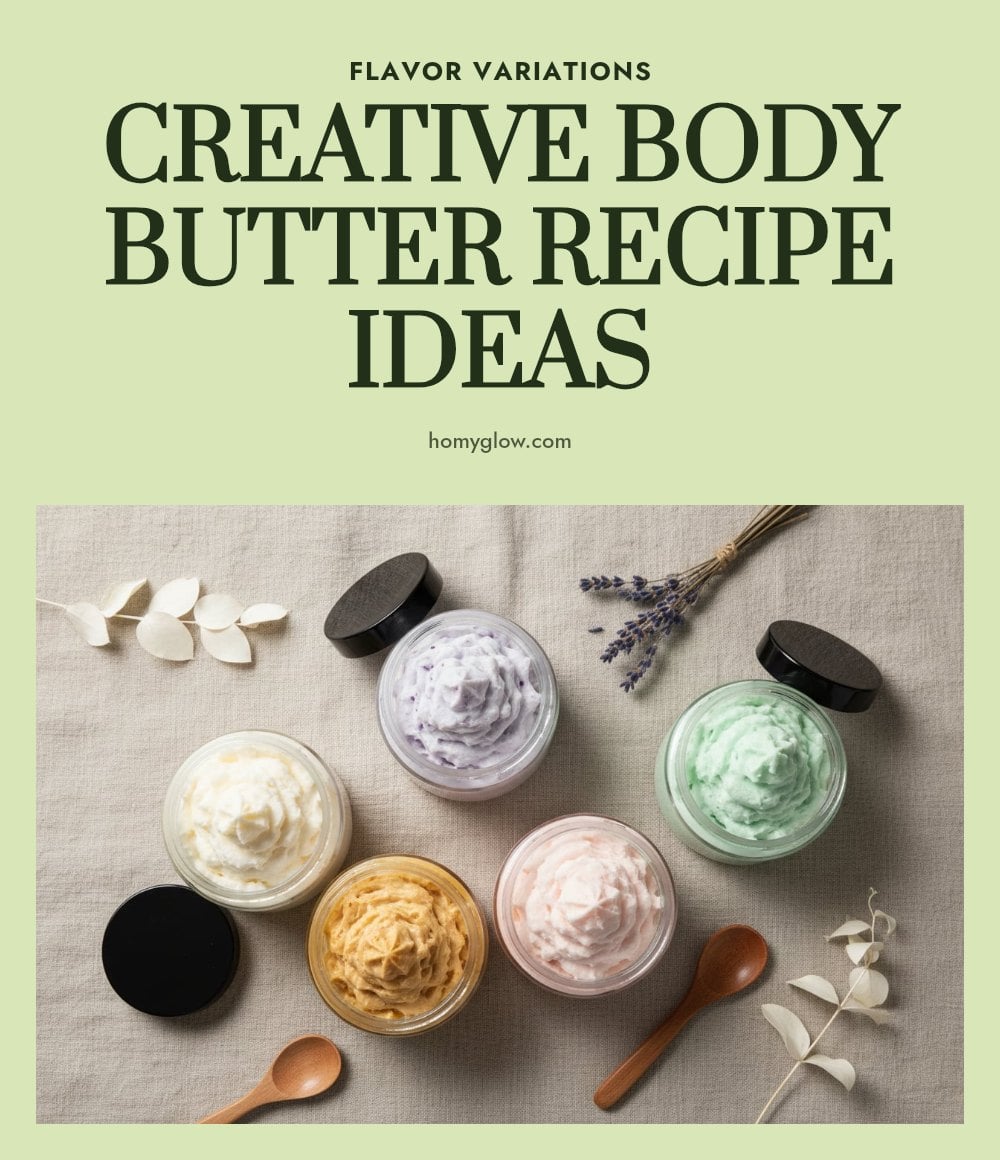
Cocoa Butter for Elasticity
Replace half the shea butter with cocoa butter in the base recipe. Cocoa butter is rich in antioxidants and known to improve skin elasticity, making this version a good choice for areas prone to stretching, like the belly or thighs.
Mango Butter for a Lighter Feel
Swap the shea butter for mango butter. Mango butter has a lighter, less greasy texture and is thought to support skin regeneration. It works well for normal to oily skin types.
Jojoba Oil for Balanced Skin
Use jojoba oil as your carrier oil instead of coconut or almond oil. Jojoba oil closely mimics the skin’s natural sebum, so it can help balance oil production without clogging pores.
Essential Oil Blends to Try
Mix your own scents. Lavender and frankincense create a calming blend. Sweet orange and vanilla make an uplifting combination. Keep the total essential oil at 10-15 drops per 8 ounces of butter.
Common Body Butter Blunders and How to Fix Them
Grainy texture: This usually happens when the mixture cools too fast or unevenly. Re-melt the body butter gently in a double boiler, then let it cool slowly at room temperature before whipping again.
Too greasy: If the butter feels heavy and doesn’t absorb, you likely used too much liquid oil. Next batch, reduce the carrier oil by one tablespoon and increase the solid butter by the same amount.
Skin irritation: Redness or stinging after application often means too much essential oil. Always dilute essential oils to no more than 2% of the total recipe. If irritation occurs, stop using that batch.
Short shelf life: Homemade body butter naturally lasts 3-6 months without preservatives when stored properly. Keep it in a cool, dark place and use clean hands or a spatula every time you scoop. If it smells off or changes color, toss it.
Storing Your Homemade Body Butter for Longevity
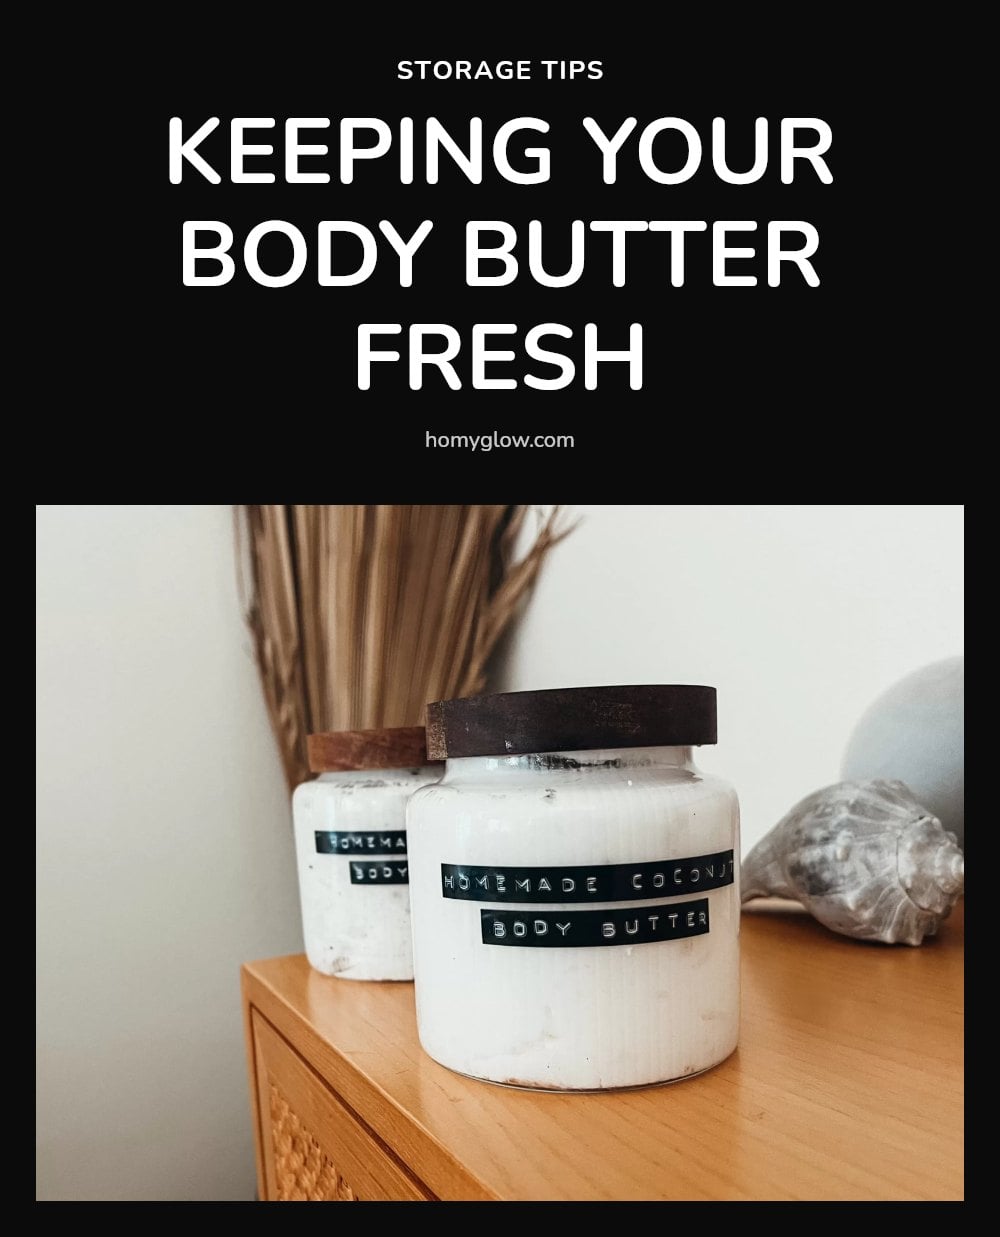
Transfer your finished body butter into clean, airtight glass jars. A tight seal keeps out moisture and airborne bacteria that can cause spoilage.
Keep the jars in a cool, dark place like a bedroom drawer or a cabinet away from the stove. Direct sunlight and heat will melt the butter and shorten its life.
Because it contains no synthetic preservatives, homemade body butter stays fresh for 3 to 6 months. Plan to use it within that window.
Tip: Always scoop out product with clean hands or a small spatula. Dipping wet or dirty fingers into the jar can introduce bacteria and ruin the batch.
Frequently Asked Questions
How long does homemade body butter last?
Homemade body butter typically lasts 3 to 6 months when stored in a cool, dark place in an airtight container. Because it contains no water, it doesn’t need preservatives, but the natural oils will eventually go rancid. If you notice a change in smell or texture, it’s time to make a fresh batch.
Can I use any essential oil in my body butter?
You can use most essential oils, but always dilute them properly in the carrier oils and butters. Some oils, like citrus oils, can cause photosensitivity, so avoid applying them before sun exposure. Research the specific oil’s safety guidelines and do a patch test before using it all over.
Why is my homemade body butter grainy?
Grainy texture usually happens when the mixture cools too quickly or unevenly, causing the butters to crystallize. To fix it, gently re-melt the body butter in a double boiler, then let it cool slowly at room temperature before whipping again. This should smooth out the texture.
Is body butter better than lotion for dry skin?
Body butter is generally more effective for very dry skin because it’s thicker and contains a higher concentration of oils and butters with no water. Lotions are lighter and absorb quickly, but they often rely on water and preservatives. For stubborn dry patches like elbows and knees, body butter provides deeper, longer-lasting hydration.
Can I make body butter without coconut oil?
Yes, you can easily substitute coconut oil with another carrier oil like jojoba, almond, or olive oil. Coconut oil can be comedogenic for some skin types, so swapping it out is a good option for those prone to breakouts. Just keep in mind that the texture and absorption may vary slightly with the replacement oil.
Final Thoughts
For the best results, start with the classic whipped shea recipe and adjust the oils to match your skin type. You’ll notice softer, smoother skin right after the first application, and with regular use, the improvement builds over time. My tip: keep a small jar by your sink and apply it after every hand wash for constant hydration.