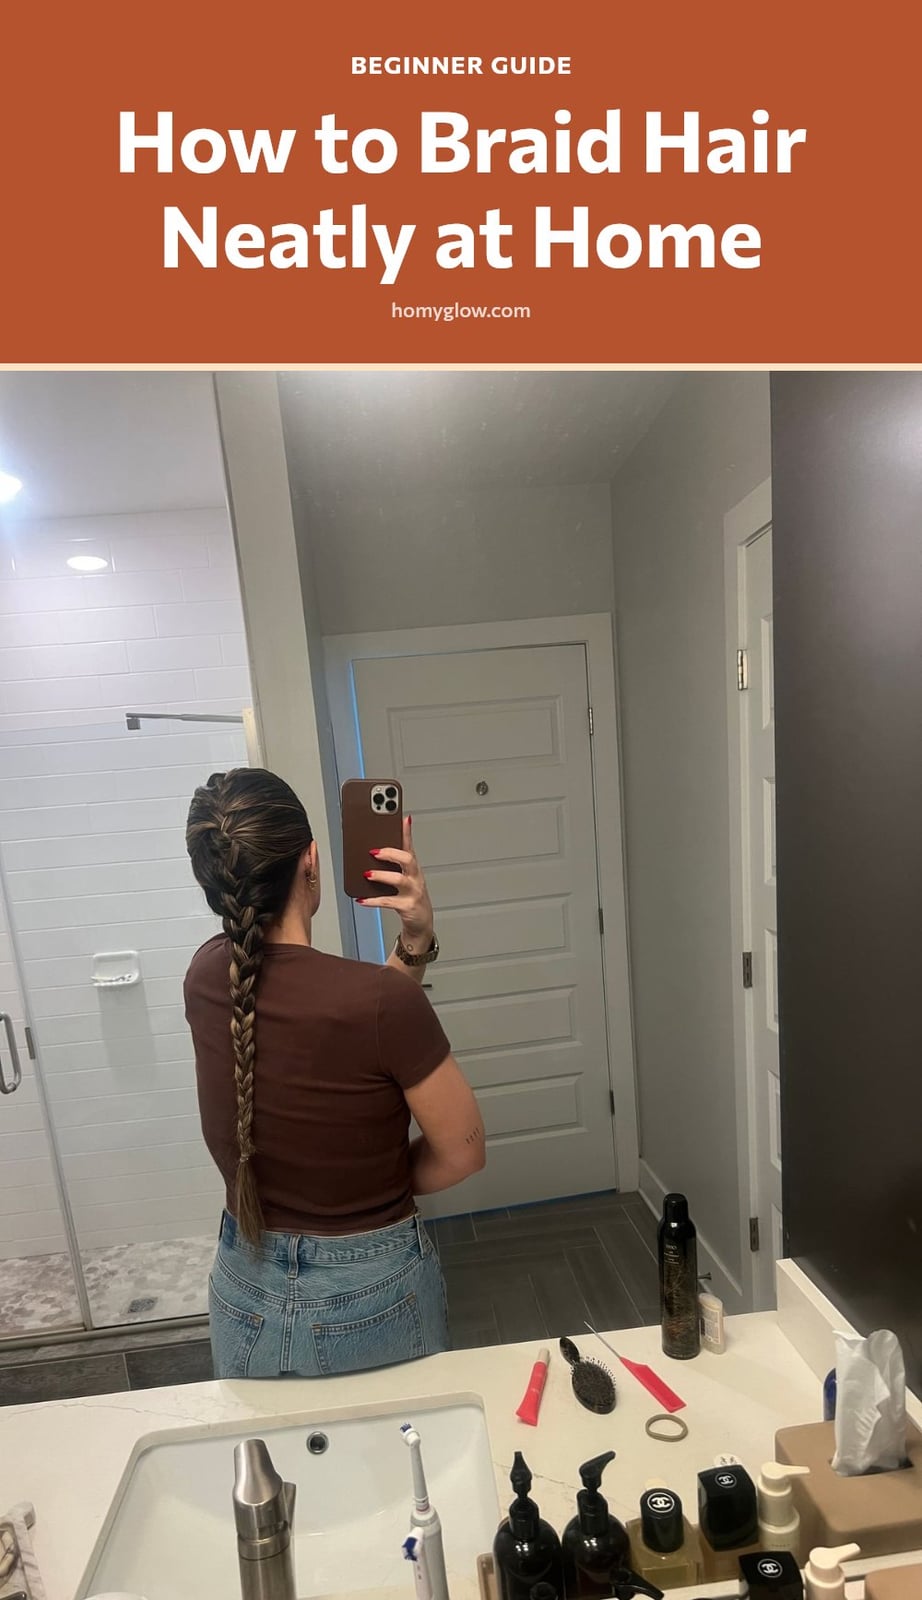
Getting a neat braid at home isn’t about magic. It’s about technique and a little patience. Whether you’re braiding your own hair or someone else’s, the basic three-strand braid is the foundation you need. This article walks you through the essential steps, common mistakes to avoid, and pro tips to make your braid look polished every time.
Key Takeaways
- Always detangle hair thoroughly before starting to avoid bumps and uneven sections.
- Divide hair into three equal sections for a balanced three-strand braid.
- Maintain consistent tension throughout to keep the braid neat and even.
- Apply a light styling product like leave-in conditioner to control flyaways and add grip.
- Practice regularly, most people improve significantly within one to two weeks.
Mastering the Basic Three-Strand Braid
The three-strand braid is the most common basic braid and the foundation for many styles. You divide your hair into three equal sections, then consistently interlace them by crossing the right strand over the middle, then the left over the new middle. Smooth strands and even tension are crucial for a neat finish. That is the core motion; once you get the rhythm, you can build on it.
Your Braiding Essentials: What You’ll Need
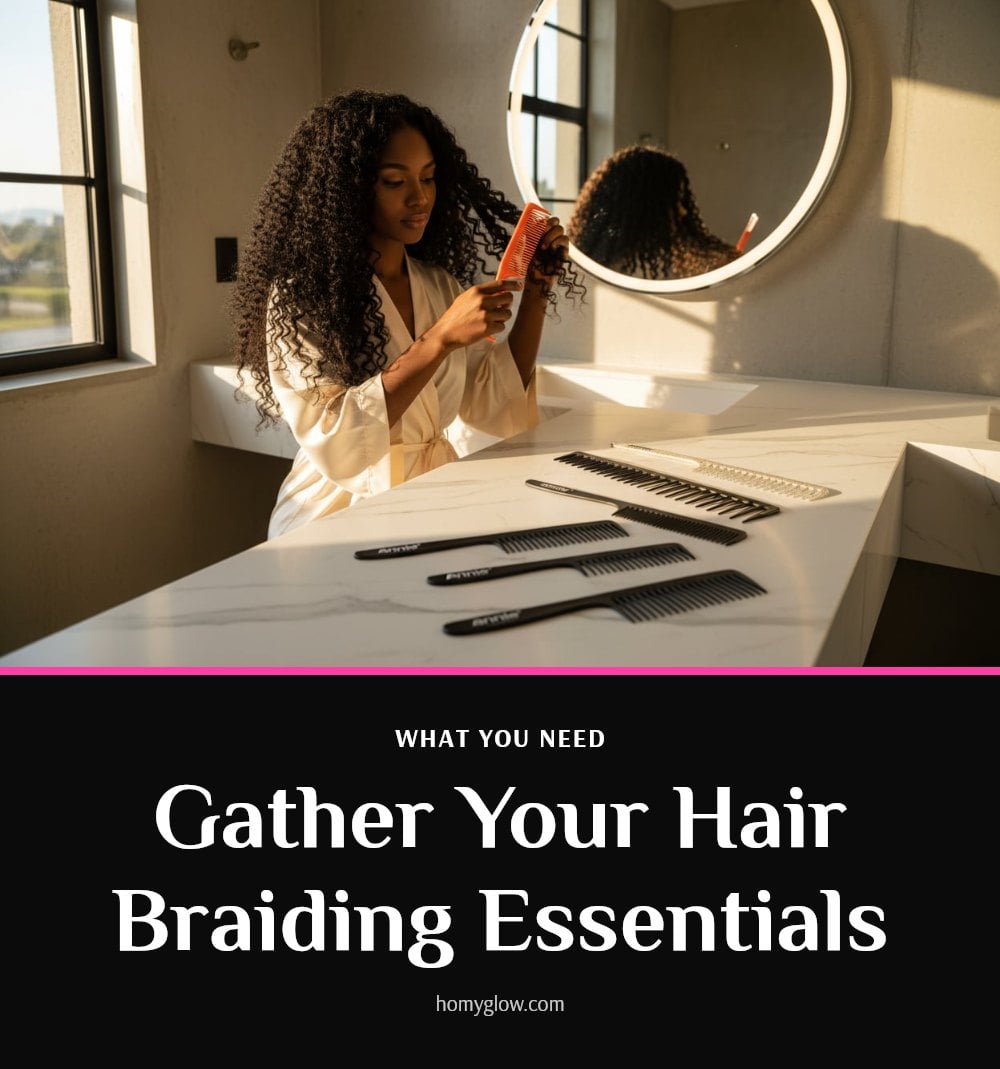
You only need a few items to get started. Here is what you will want on hand:
- Hairbrush or comb: For thorough detangling before you begin.
- Hair elastics or ties: To secure the end of the braid.
- Hair clips: To hold sections out of the way while you work.
- Styling cream or leave-in conditioner: A small amount smooths strands and reduces flyaways.
- Mirror: Essential for seeing the back of your head when braiding your own hair.
Step-by-Step: Creating a Perfect Three-Strand Braid
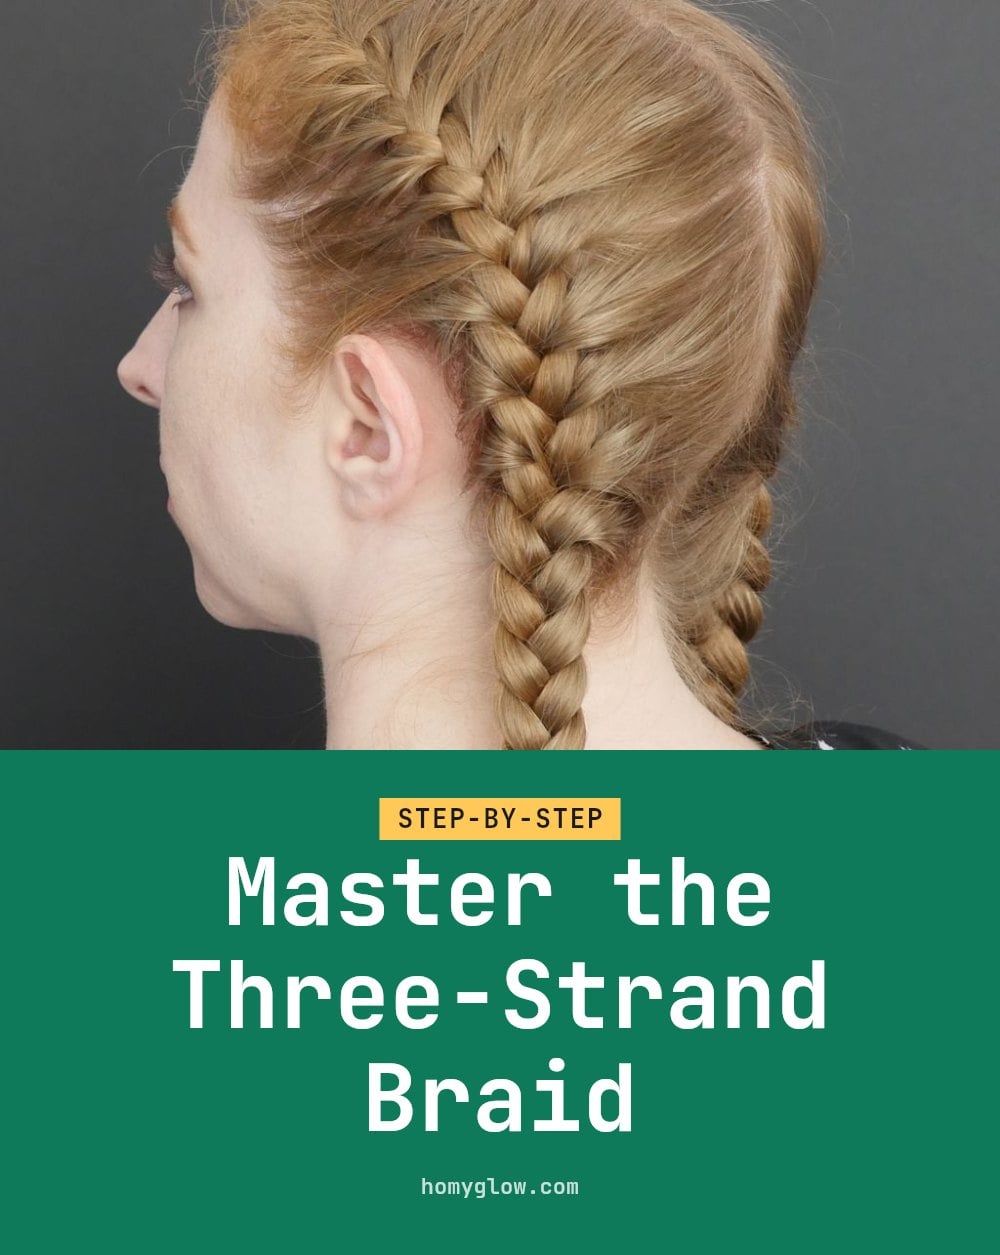
Follow these steps for a clean three-strand braid.
- Detangle your hair: Brush or comb through thoroughly to remove all knots. Tangles will cause bumps and uneven sections.
- Apply a styling product: Work a pea-sized amount of leave-in conditioner or styling cream through your hair. This adds control and reduces frizz.
- Divide into three equal sections: Gather all your hair at the nape of your neck and split it into three even strands. Hold one in each hand and let the middle rest between them.
- Cross the right section over the middle: Take the right strand and bring it over the middle strand. The right strand becomes the new middle.
- Cross the left section over the new middle: Take the left strand and bring it over the strand that is now in the middle. The left strand becomes the new middle.
- Alternate sides with consistent tension: Keep repeating steps 4 and 5, alternating right over middle, then left over middle. Maintain even pull on all strands so the braid lies flat and even.
- Secure the end: Once you reach the end of your hair, wrap a hair elastic around the tail tightly.
Common Braiding Mistakes and How to Fix Them
Even experienced braiders hit snags. Here are the most common mistakes and how to fix them.
- Not detangling thoroughly: Knots create bumps. Always brush your hair smooth before starting.
- Uneven sections: This gives you a lopsided braid. Use your fingers or a comb to ensure all three sections are the same size at the start.
- Inconsistent tension: A loose-tight braid looks messy. Practice pulling each strand with the same amount of force as you cross it.
- Skipping smoothing: Forgetting to smooth each strand before crossing leads to flyaways. Run your fingers down each section before you move it.
- Wrong hair moisture: Hair that is too wet can frizz as it dries, and very dry hair is hard to control. Aim for slightly damp or dry hair with a light styling product.
Pro Tips for a Beautiful, Long-Lasting Braid
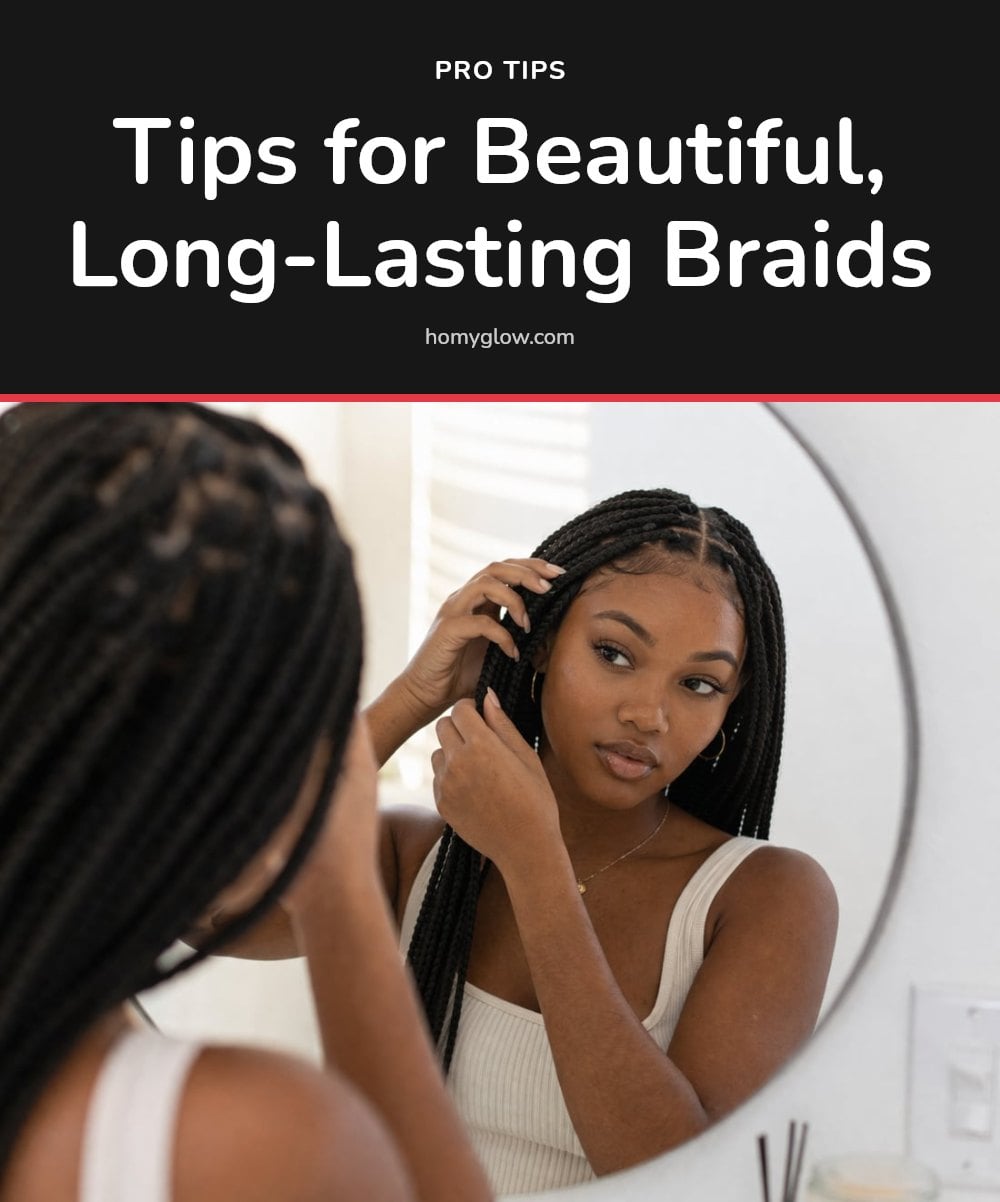
Tip: Practice on damp hair first. Damp strands hold their shape better and resist slipping, which makes the crossing motion easier to learn.
Tip: Use a mirror to see the back of your head. A handheld or bathroom mirror lets you check that your sections stay even and your tension remains consistent.
Tip: Apply a light styling cream or leave-in conditioner before you start. This smooths each strand and cuts down on flyaways without weighing hair down.
Tip: Keep your sections even in size. If one piece is thicker than the others, the braid will lean or look lumpy. Re-split any section that feels off.
Tip: Maintain consistent tension through the whole braid. A loose start and tight finish create a droopy look. Pull each crossing with the same firmness.
Good to know: Braiding speed and neatness come with repetition. Try one braid a day for a week and you will see a clear improvement.
Beyond the Basic: Exploring Other Braid Styles
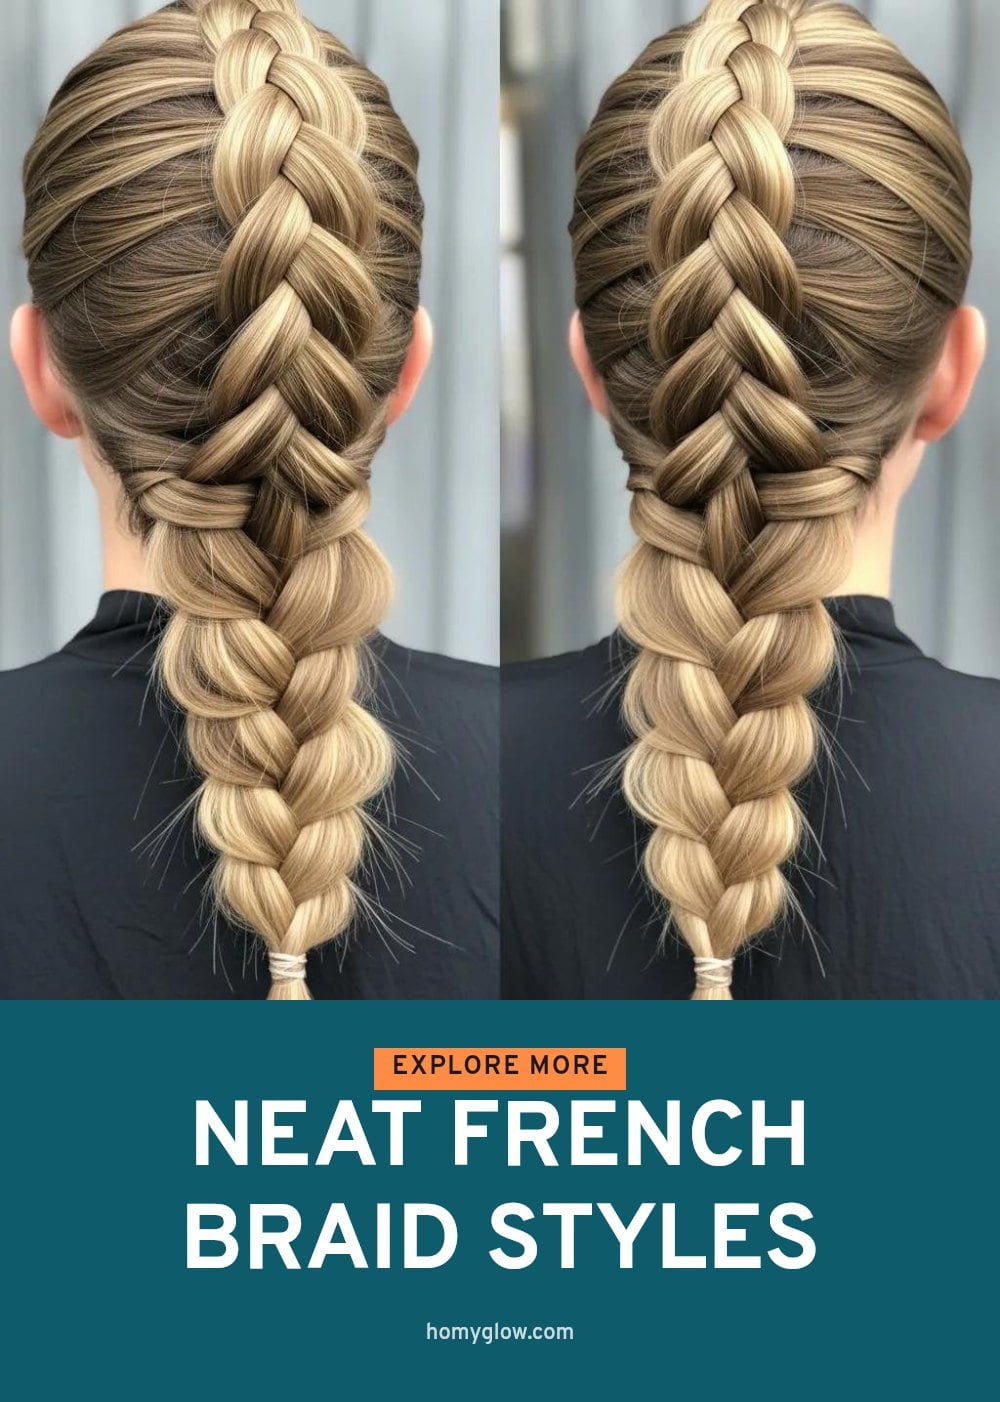
French Braids and Dutch Braids
Both styles build on the three-strand braid by adding new hair as you go. In a French braid you cross sections over the middle, so the braid sits flat against the head. In a Dutch braid you cross sections under the middle, creating a raised, 3D look.
Protective Benefits
Braids keep hair contained, which reduces friction against clothes and pillows and limits exposure to wind and sun. This can help prevent breakage and split ends, especially for longer hair.
Working With Your Texture
Fine hair often lacks grip, so a light texturizing spray or dry shampoo can help sections stay put. Coarse or curly hair may need extra moisturizer before braiding to avoid frizz. Adjust your product choice to your hair type.
How Long Does It Take to Learn and Master Braiding?
Most people pick up the basic three-strand motion in a few attempts. The first braid may be loose and uneven, but neatness improves quickly with daily practice over one to two weeks.
Cost: The setup is inexpensive. You need a brush or comb, a pack of hair elastics, and one styling product if you choose to use it. That is all.
Time investment: A single three-strand braid takes 2 to 5 minutes once you are comfortable. Speed comes naturally as your hands learn the rhythm.
Frequently Asked Questions
What is the easiest way to learn how to braid?
The easiest way is to start with damp hair. Damp strands hold their shape better and resist slipping, making the crossing motion easier to learn. Practice on yourself or a friend using a mirror to see the back of your head, and focus on keeping three even sections with consistent tension.
Can I braid my hair when it’s wet?
Yes, but with caution. Braiding wet hair can sometimes lead to frizz as it dries, especially for certain hair types. If you do braid wet hair, use a light product to smooth strands and avoid pulling too tightly. For beginners, damp hair (not soaking wet) is often easier to control.
How do I make my braid look fuller?
To make a braid look fuller, gently tug on the outer edges of each section after braiding to loosen and widen the weave. You can also start with slightly larger sections or use a texturizing spray before braiding to add volume, especially if you have fine hair.
How long does it take to learn how to braid?
Most people pick up the basic three-strand motion in a few attempts. Neatness improves quickly with daily practice over one to two weeks. The key is consistent practice, even a few minutes a day helps build muscle memory and control.
Why is my braid messy?
A messy braid usually comes from one of three things: not detangling thoroughly before starting, using uneven sections, or inconsistent tension. Always brush hair smooth, divide into three equal sections, and keep the same pull strength throughout. Smooth each strand before crossing it over to avoid bumps.
Final Thoughts
Stick with the three-strand braid until it feels natural, that repetition builds muscle memory. Expect your first few attempts to be a little loose or uneven, but neatness improves with daily practice over a week or two. With consistent tension and even sections, you will have a clean, long-lasting braid in no time.